Ah, the joyous task of planning a wedding – the dress, the flowers, the music, and of course, the cake! As a self-proclaimed cake connoisseur and the proud owner of Jax Cake Shop in San Jose, I’ve seen it all when it comes to wedding cake dilemmas. But fear not, my fellow cake enthusiasts, for I’m here to guide you through the process of creating your very own DIY wedding cake.
The Basics: Choosing Your Cake
Let’s start with the foundation – selecting the perfect cake for your big day. I know, I know, the options can be overwhelming. From classic vanilla to decadent chocolate, and everything in between, it’s enough to make your head spin. But have no fear, I’m here to break it down for you.
First and foremost, consider the overall theme and vibe of your wedding. Are you going for a rustic, bohemian feel? Or perhaps a sleek, modern aesthetic? The cake should complement the rest of your decor and set the tone for the celebration.
Next, think about the number of guests you’ll be serving. This will help determine the size and number of tiers you’ll need. Remember, it’s better to have a little extra cake than to run out halfway through the reception. And let’s be honest, who doesn’t love a good leftover cake breakfast the next day?
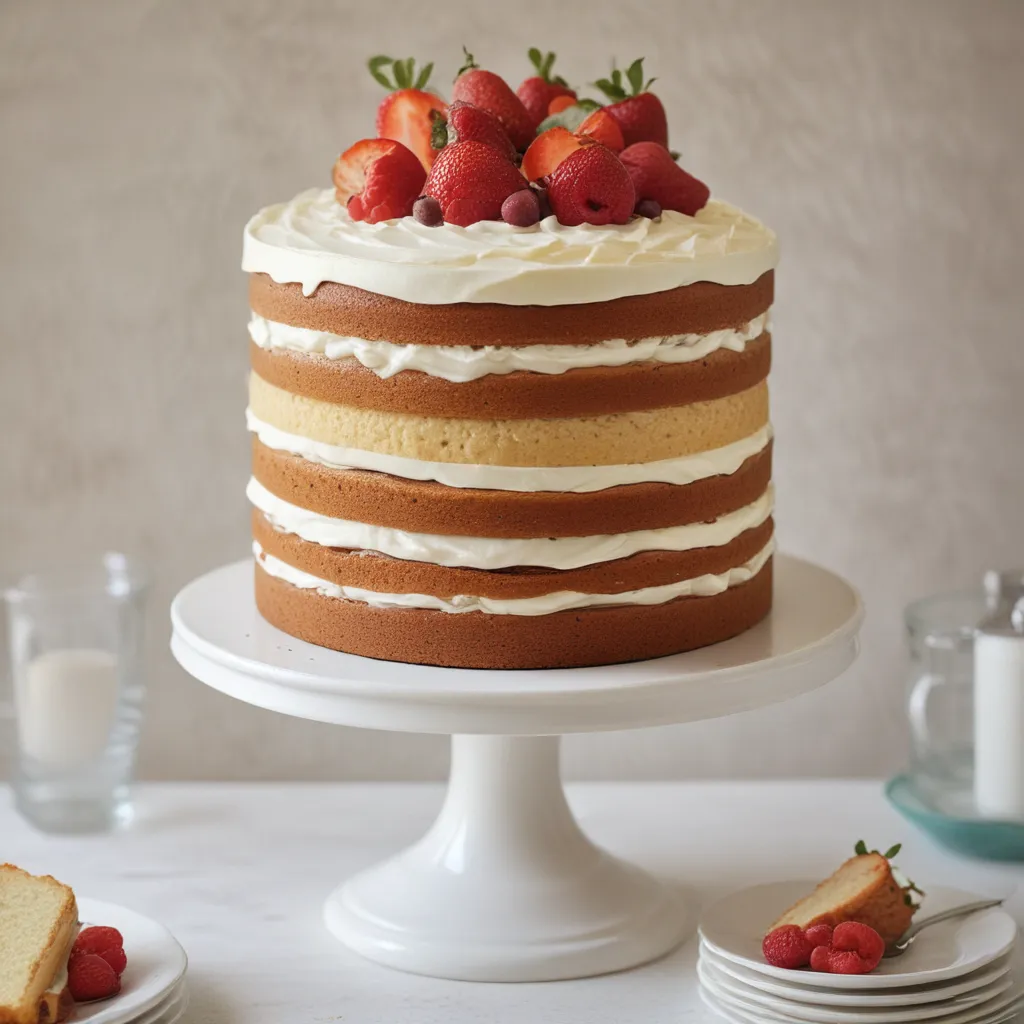
Speaking of tiers, let’s talk flavors. I always recommend offering a variety to please everyone’s palate. Maybe you go with a classic vanilla on the bottom, a rich chocolate in the middle, and a zesty lemon on top. Or, you could mix it up with a different flavor for each tier. The possibilities are endless!
Mastering the Art of Decorating
Alright, now that you’ve got the basics down, it’s time to get creative with the decorations. This is where you can really let your personality shine through and make your DIY wedding cake truly unique.
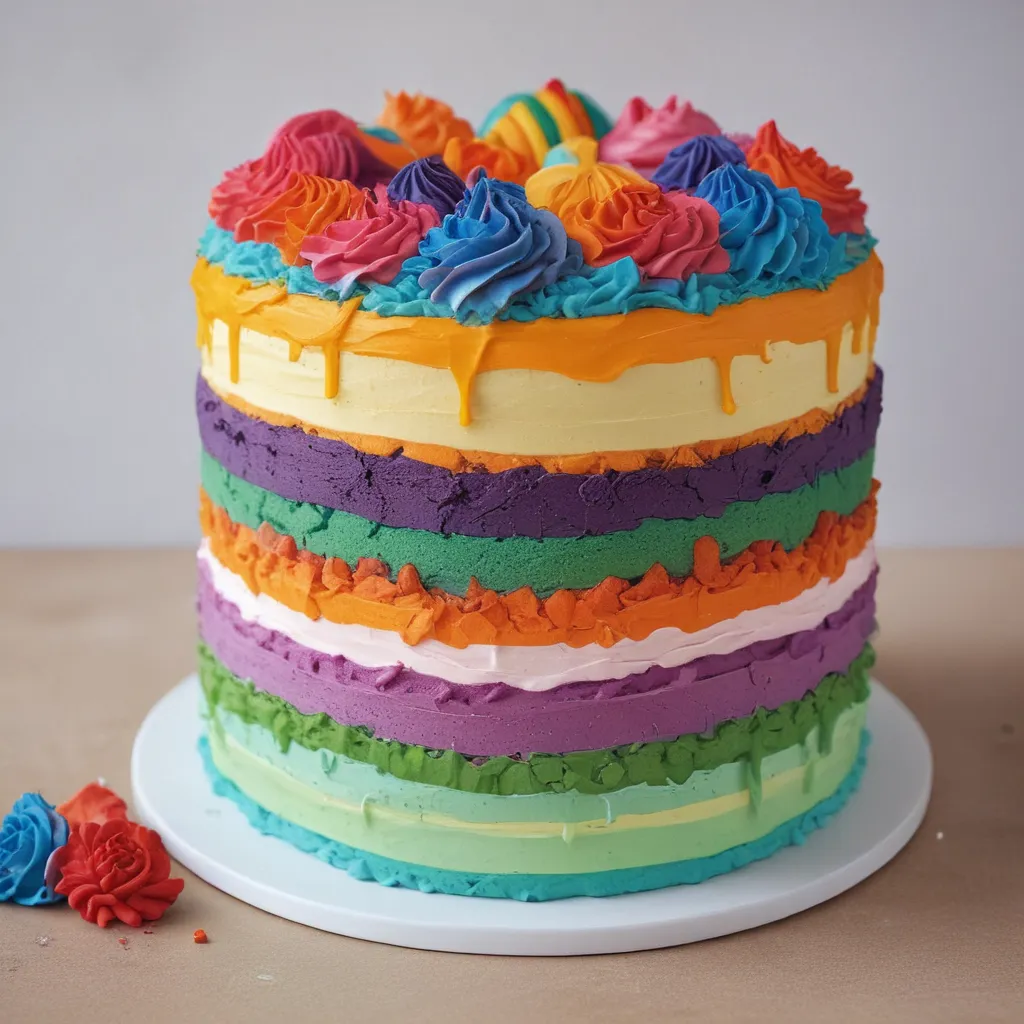
First, decide on the overall aesthetic. Do you want a simple, elegant design with clean lines and subtle details? Or are you feeling more whimsical, with vibrant colors and intricate patterns? Take a moment to scroll through Pinterest for inspiration – you’d be amazed at the stunning creations out there.
Next, let’s talk about the tools of the trade. As a cake artist, I can’t stress enough the importance of having the right equipment. Think about investing in a turntable, a good set of decorating tips, and maybe even a fondant smoother. Trust me, these little gadgets can make all the difference in the world.
And let’s not forget the edible decorations! From fresh flowers to delicate sugar pearls, the options are endless. Personally, I love the look of a simple, understated cake adorned with a cascade of lush blooms. But if you’re feeling bold, why not try your hand at intricate piping or even a bit of hand-painted artwork?
The Grand Finale: Assembling and Serving
Alright, the moment of truth has arrived – it’s time to put all your hard work together and present your DIY masterpiece to the world. But before you start stacking those tiers, there are a few important things to keep in mind.
First and foremost, make sure your cake is level and stable. Nothing ruins a wedding reception faster than a leaning, wobbly cake. I recommend investing in some sturdy cake boards and dowels to keep everything nice and secure.
Next, consider how you’ll be transporting and setting up your cake. If you’re doing the delivery and assembly yourself, be sure to have a solid plan in place. Maybe enlist a few trusty friends to help lug the tiers and ensure everything is positioned just right.
And let’s not forget the all-important task of cutting and serving the cake. I know it can be nerve-wracking, but trust me, your guests will be delighted to dig in. Just remember to have a sharp knife on hand and maybe even a cake-cutting tutorial pre-loaded on your phone, just in case.
The Finishing Touches: Tips and Tricks
Phew, you made it! But before you kick up your feet and enjoy a well-deserved slice of your creation, let’s chat about a few final tips and tricks to make your DIY wedding cake truly shine.
First and foremost, don’t be afraid to get a little help from the pros. While I firmly believe in the power of DIY, there’s no shame in outsourcing the more technical aspects, like cake structure or intricate decorations. Reach out to your local bakery or even an experienced cake decorator – they’d be more than happy to lend a hand.
And let’s not forget about the all-important matter of storage and transport. If you’re making your cake ahead of time, be sure to have a sturdy, temperature-controlled space to keep it fresh and pristine. And when it comes time to move it, invest in a reliable cake carrier or even a custom-built transport box.
Finally, don’t forget to have fun with the process! Baking and decorating a wedding cake can be a daunting task, but it’s also a chance to tap into your creativity and make something truly special. So embrace the chaos, get a little icing on your nose, and enjoy every sweet, sugary moment.
Conclusion: The Joys of DIY
And there you have it, my fellow cake enthusiasts – everything you need to create your very own DIY wedding cake. From the initial planning stages to the final, delicious reveal, I’ve covered it all.
I know the prospect of tackling such a monumental task can be a bit daunting, but trust me, the rewards far outweigh the challenges. Not only will you save a ton of money, but you’ll also have the satisfaction of knowing you poured your heart and soul into something truly special.
So, what are you waiting for? Grab your mixing bowls, dust off your decorating skills, and get ready to become the master cake artist of your wedding dreams. And remember, if you ever need a little extra support, the team at Jax Cake Shop in San Jose is always here to lend a hand (or a spatula).
Happy baking, my friends!


