Ah, the joys and woes of baking cakes – a labor of love that can either result in a towering, scrumptious masterpiece or a disastrous, crumbling mess. If you’re anything like me, you’ve probably encountered your fair share of cake-related conundrums that have left you scratching your head and questioning your baking prowess.
Well, fear not, my fellow cake enthusiasts! In this comprehensive guide, I’m going to share with you the secrets to troubleshooting the most common cake baking problems and mistakes. Grab a spatula and get ready to become a cake-baking superhero!
Identifying and Preventing Common Cake Baking Problems
Sunken Cakes: Plumbing the Depths of Cake Disaster
Have you ever eagerly pulled your cake out of the oven, only to find a massive crater in the center, like a sinkhole had opened up in the middle of your delicious creation? If so, you’re not alone. Sunken cakes are one of the most frustrating problems bakers face, but fear not, I’m here to help you get to the bottom of it.
One of the primary culprits behind a sunken cake is overbeating the batter. When you overbeat the ingredients, you incorporate too much air into the mixture, which can cause the cake to rise rapidly in the oven and then collapse as it cools. This is a bit like trying to blow up a balloon too much – it’s bound to pop eventually.
Another common cause of sunken cakes is underbaking. If you pull the cake out of the oven before it’s fully cooked through, the center will still be raw and gooey, causing it to sink down as it cools. To avoid this, make sure to use the toothpick test – insert a clean toothpick into the center of the cake, and if it comes out clean, your cake is ready to come out of the oven.
Lastly, sudden temperature changes can also lead to a sunken cake. If you open the oven door too frequently during baking, or if you try to move the cake too soon after it comes out of the oven, the rapid temperature fluctuations can cause the cake to collapse. So, be patient, and resist the urge to peek!
Dry and Crumbly Cakes: Rescuing the Sahara Desert of Desserts
Another common cake-baking woe is the dreaded dry and crumbly cake. You know the ones – they practically disintegrate in your mouth, leaving you parched and longing for a tall glass of milk. But fear not, there are ways to prevent this calamity.
One of the biggest culprits behind a dry, crumbly cake is overbaking. Just like with sunken cakes, keeping a close eye on the baking time and using the toothpick test is crucial. If you let your cake linger in the oven for too long, all of the moisture will evaporate, leaving you with a dessert that’s drier than a bone.
Another factor to consider is the ratio of wet to dry ingredients in your recipe. If there’s not enough fat, liquid, or eggs in the batter, the cake will end up being too dense and dry. To combat this, try increasing the amount of butter, oil, milk, or other wet ingredients in your recipe. You can also experiment with replacing some of the flour with ground nuts or breadcrumbs, which can add moisture and texture.
Finally, don’t forget the importance of proper storage. Once your cake has cooled, be sure to wrap it tightly in plastic or foil to prevent it from drying out. If you plan to serve the cake later, you can even wrap it and freeze it for a few weeks, ensuring it stays fresh and moist.
Tough and Chewy Cakes: Conquering the Gummy Bear Syndrome
Ah, the dreaded tough and chewy cake – a texture that’s about as appealing as a stale piece of cardboard. But what causes this culinary catastrophe, and how can you avoid it?
One of the primary reasons for a tough, chewy cake is overworking the batter. Just like with sunken cakes, when you overmix the ingredients, you develop too much gluten, which can result in a dense, rubbery texture. To prevent this, be gentle when mixing your batter, and stop as soon as the ingredients are just combined.
Another factor to consider is the type of flour you’re using. All-purpose flour contains more gluten than pastry or cake flour, which means it can lead to a tougher crumb. If you find that your cakes are consistently on the chewy side, try swapping out the all-purpose flour for a more delicate alternative.
Finally, don’t forget to measure your ingredients carefully. If you accidentally add too much flour or not enough liquid, it can throw off the entire balance of the recipe, leading to a tough, gummy texture. Invest in a good set of measuring cups and spoons, and always double-check your measurements before adding them to the batter.
Cracked Cakes: The Anatomy of a Cake Catastrophe
Have you ever pulled a cake out of the oven only to find a jagged, unsightly crack running across the top? This can be a real head-scratcher, but fear not, there are ways to prevent this baking blunder.
One of the most common causes of cracked cakes is oven temperature. If the oven is too hot, the outside of the cake will bake too quickly, causing the center to rise and crack as it tries to expand. To avoid this, make sure your oven is preheated to the correct temperature and use an oven thermometer to double-check that it’s not running too hot.
Another factor to consider is the baking time. If you overbake your cake, the moisture will evaporate, leading to a dry, brittle crust that’s prone to cracking. As with the other problems we’ve discussed, the toothpick test is your best friend here – use it to ensure your cake is cooked through without being over-baked.
Finally, don’t forget to grease and flour your baking pan properly. If the cake batter doesn’t have enough traction to cling to the sides of the pan as it rises, it can cause the center to crack and collapse. Make sure to thoroughly coat the pan with butter or non-stick spray, and dust it with a light coating of flour to help the cake rise evenly.
Mastering the Art of Cake Decorating
Now that we’ve tackled the common cake baking problems, let’s turn our attention to the fun part – decorating! After all, what’s the point of baking a delicious cake if it doesn’t look absolutely stunning?
Leveling the Playing Field: Conquering Uneven Cakes
One of the biggest challenges in cake decorating is dealing with uneven layers. If your cakes don’t bake up nice and flat, it can be a real nightmare trying to stack them and frost them evenly. But fear not, there are a few tricks up my sleeve to help you level the playing field.
First and foremost, make sure you’re using a high-quality baking pan with straight, even sides. Cheap pans can lead to warped or lopsided cakes, so it’s worth investing in a sturdy, professional-grade pan. You can also try lining the pan with parchment paper or a silicone baking mat to help the cake release cleanly and evenly.
Another trick is to use a serrated knife to carefully trim the tops of your cakes to create a level surface. Just be sure to let the cakes cool completely before attempting this, and take it slow to avoid accidentally cutting off too much.
Finally, don’t be afraid to get a little creative with your cake assembly. If you have a particularly stubborn cake that just won’t cooperate, you can always use a thin layer of frosting or a ring of fondant to help even out the surface and create a smooth, level foundation for your decorations.
Mastering the Art of Frosting: Conquering Crumb Coats and Smooth Finishes
Ah, the frosting – the crowning glory of any cake, and a true test of a baker’s skill. Whether you prefer a classic buttercream or a silky smooth ganache, getting that perfect frosting finish can be a real challenge.
One of the keys to success is the crumb coat. This thin layer of frosting serves as a barrier between the cake and the final, polished frosting layer, helping to catch any stray crumbs and create a smooth, even surface. To apply the crumb coat, simply spread a thin layer of frosting over the entire cake, then pop it in the fridge or freezer for about 30 minutes to set.
Once your crumb coat is chilled and firm, it’s time to tackle the final frosting layer. The key here is to work slowly and gently, using a turntable or cake stand to rotate the cake as you smooth the frosting with an offset spatula or icing smoother. Take your time, and don’t be afraid to go back and touch up any rough spots or uneven areas.
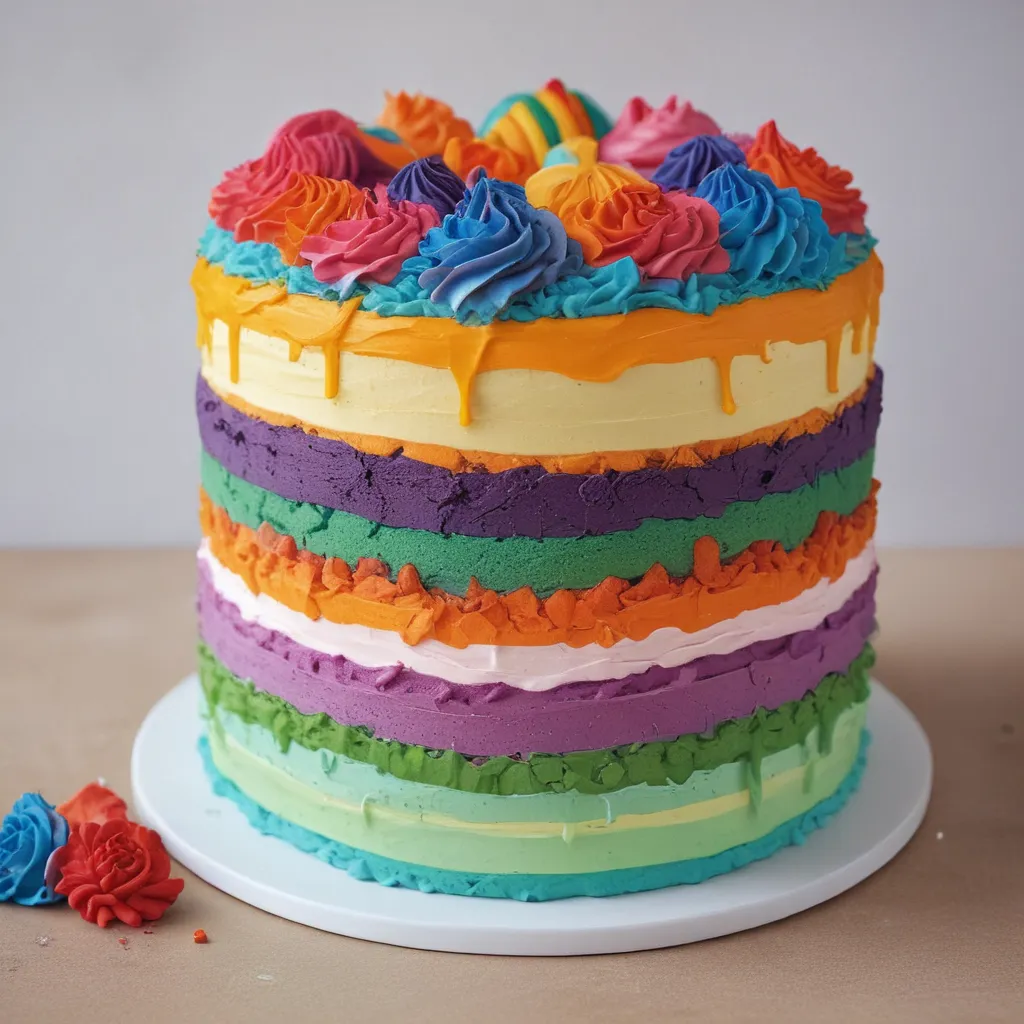
If you’re looking to take your frosting game to the next level, consider trying a technique like the “ombre” effect, where you gradually transition from a dark color at the bottom to a lighter shade at the top. Or, for a truly show-stopping presentation, try your hand at intricate piping designs or a stunning drip cake.
Decorating with Confidence: Mastering Fondant, Gum Paste, and Other Embellishments
Now that you’ve conquered the basics of cake baking and frosting, it’s time to let your creativity shine with some fancy decorations! From delicate sugar flowers to intricate fondant designs, the world of cake decorating is your oyster.
One of the most versatile and popular decorating mediums is fondant. This malleable, dough-like substance can be rolled, shaped, and molded into all sorts of stunning designs, from elegant ruffles to whimsical characters. To work with fondant, simply knead it until it’s soft and pliable, then use cookie cutters, modeling tools, and your own nimble fingers to bring your vision to life.
Another decorative option is gum paste, which is similar to fondant but with a slightly dryer, more brittle texture. This makes it perfect for creating delicate, intricate decorations like flowers, lace, and intricate toppers. Just be sure to work quickly, as gum paste can dry out and become difficult to manipulate if left exposed for too long.
And let’s not forget about the power of simple, yet effective decorations like sprinkles, crushed cookies, or a dusting of powdered sugar. Sometimes, the most beautiful cakes are the ones that let the flavors shine through with minimal fuss.
Troubleshooting Checklist: A Baker’s Best Friend
Well, there you have it, folks – a comprehensive guide to troubleshooting the most common cake baking problems and mistakes. But before you go, let’s recap the key takeaways in a handy checklist:
- Sunken Cakes: Avoid overbeating the batter and underbaking. Maintain a consistent oven temperature.
- Dry and Crumbly Cakes: Prevent overbaking and ensure the right ratio of wet to dry ingredients. Store cakes properly.
- Tough and Chewy Cakes: Don’t overmix the batter, and consider using a more delicate flour.
- Cracked Cakes: Monitor your oven temperature and baking time, and grease and flour your pans properly.
- Uneven Cakes: Use high-quality baking pans and trim the tops to create a level surface.
- Frosting Finishes: Apply a crumb coat, work slowly and gently, and consider decorative techniques like ombre and drip cakes.
- Decorating with Confidence: Embrace fondant, gum paste, and other embellishments to bring your cake designs to life.
Remember, baking is an art, and like any art form, it takes practice and patience to master. But with these troubleshooting tips and a healthy dose of creativity, you’ll be whipping up show-stopping cakes in no time. Happy baking, my fellow cake enthusiasts!
And if you’re ever in the San Jose area, be sure to check out Jax Cake Shop – they’ve got the most delicious, customized cakes you’ve ever tasted. Trust me, your taste buds will thank you!


