Ah, the grand task of creating a magnificent multi-tier wedding cake – it’s enough to make even the most seasoned baker’s heart skip a beat! As the owner of Jax Cake Shop, I’ve had the privilege of crafting countless showstopping centerpieces for the big day, and let me tell you, it’s an endeavor that requires equal parts skill, patience, and a healthy dose of artistic flair.
The Foundations: Choosing the Right Cake Structure
Let’s start at the very beginning, shall we? When it comes to building a multi-tiered cake, the foundation is everything. I’ve seen some bakers try to wing it, only to end up with a leaning tower of sugary shame. No, my friends, this is not the way. You need to have a solid plan in place before you even think about stacking those layers.
First and foremost, you’ll need to decide on the number of tiers and the size of each one. This will depend on the number of guests you’re expecting and the overall aesthetic you’re going for. A good rule of thumb is to have at least 4-6 inches of clearance between each tier to ensure structural stability. And don’t forget to factor in the height of your cake stand or pillars – you don’t want your creation to be towering over your guests like some sort of confectionary skyscraper.
Once you’ve nailed down the dimensions, it’s time to choose the right cake pans. I personally swear by straight-sided pans – they just make for a cleaner, more polished look. And when it comes to material, I’m a firm believer in good old-fashioned aluminum. It conducts heat evenly, which means your layers will bake up nice and level.
Baking the Layers: Precision is Key
Ah, the baking process – where dreams of a perfectly stacked cake either come to fruition or crumble into a sugary mess. (Pun intended, of course.) As someone who’s been in the cake game for over a decade, I can tell you that the key to success lies in mastering the art of level layers.
Now, I know what you’re thinking – “But Jax, how hard can it be to bake a cake that’s actually, you know, level?” Well, my friends, let me tell you, it’s not as easy as it seems. There are so many factors at play, from oven hot spots to the dreaded dome effect. But fear not, I’m here to share my hard-earned secrets.
First and foremost, make sure your cake batter is evenly distributed in the pans. You can do this by weighing the batter – yes, I said weighing, not just eyeballing it. Trust me, those extra few ounces can make all the difference. And when it comes to baking, resist the temptation to open the oven door every five minutes. I know, I know, the suspense is killer, but every time you let that hot air out, you’re risking uneven baking.
Once the cakes are out of the oven, let’s talk about leveling. Now, I know some people swear by the old toothpick trick, but I prefer to use a serrated knife and a steady hand. Start by letting the cakes cool completely, then gently trim off any domed tops. And don’t be afraid to be a bit, shall we say, aggressive with that knife – you want those layers as flat as a pancake.
Filling and Frosting: The Artistry Begins
Alright, now that we’ve got the foundations laid, it’s time to move on to the fun part – the filling and frosting! This is where you can really let your creative juices flow and transform your cake into a true work of art.
When it comes to fillings, the options are endless. I’ve seen everything from decadent buttercreams to tangy fruit preserves, and each one can add a unique flavor profile to your creation. My personal favorite? A silky-smooth Swiss meringue buttercream. It’s just so light and airy, and the perfect canvas for all sorts of embellishments.
And speaking of embellishments, let’s talk about frosting. Now, I know what you’re thinking – “But Jax, isn’t frosting just, well, frosting?” Oh, my dear, sweet, innocent friend. There’s so much more to it than that. The way you apply and smooth that frosting can make all the difference in the world.
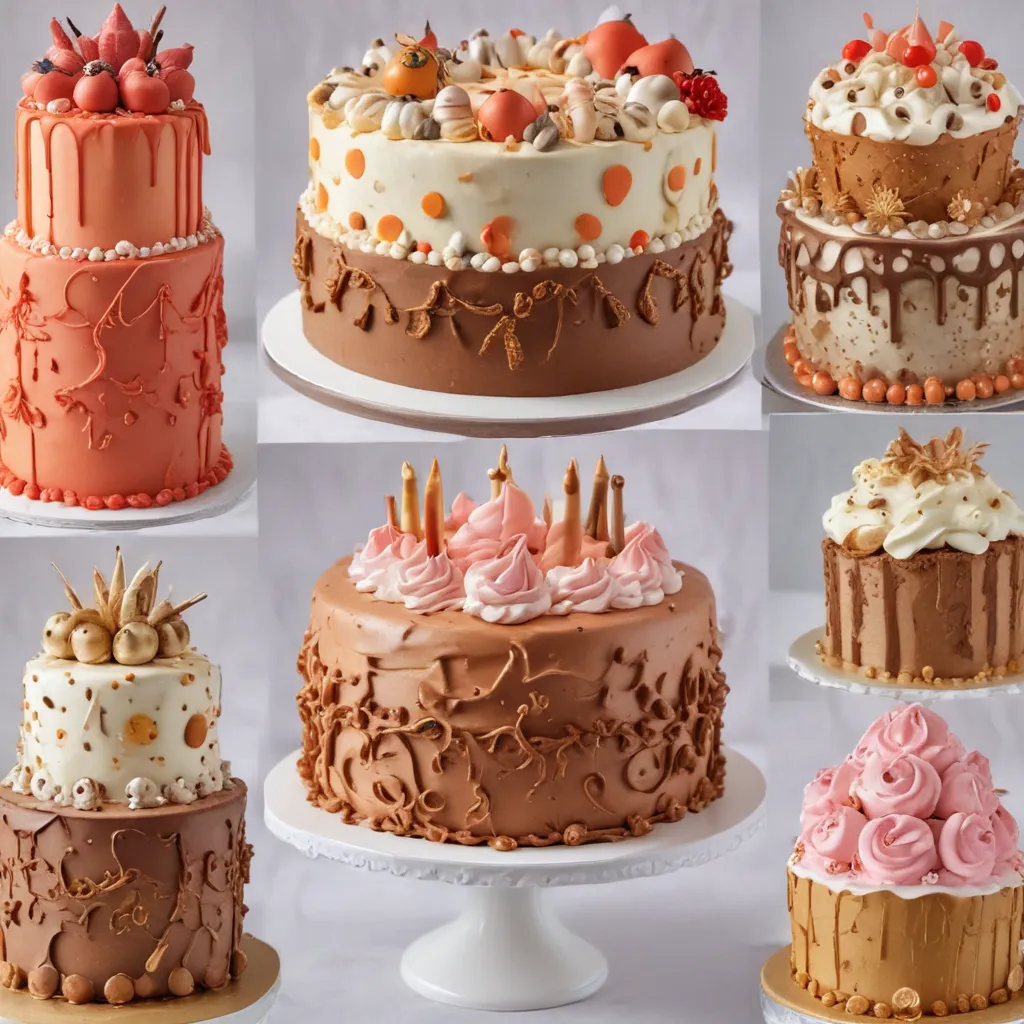
I like to start with a crumb coat – a thin layer of frosting that helps seal in the cake crumbs and creates a smooth, even surface for the final layer. Then, it’s all about perfecting that signature swirl or smooth finish. And don’t be afraid to get creative with textures and patterns – a little bit of piped detailing or even some fondant accents can take your cake to the next level.
Stacking and Assembling: The Grand Finale
Alright, we’ve conquered the baking, the filling, and the frosting – now it’s time for the main event: stacking and assembling your multi-tier masterpiece. This is where the real magic happens, folks.
First things first, you’ll need to decide on your support system. I’m a big fan of dowel rods – they provide a sturdy foundation for each tier and help prevent any unwanted leaning or toppling. Just make sure to measure carefully and cut them to the perfect height.
Once your dowels are in place, it’s time to start stacking. This is where you’ll need to put on your engineering hat and get strategic. I like to start with the largest tier on the bottom, then work my way up, carefully centering each layer and making sure it’s level and secure.
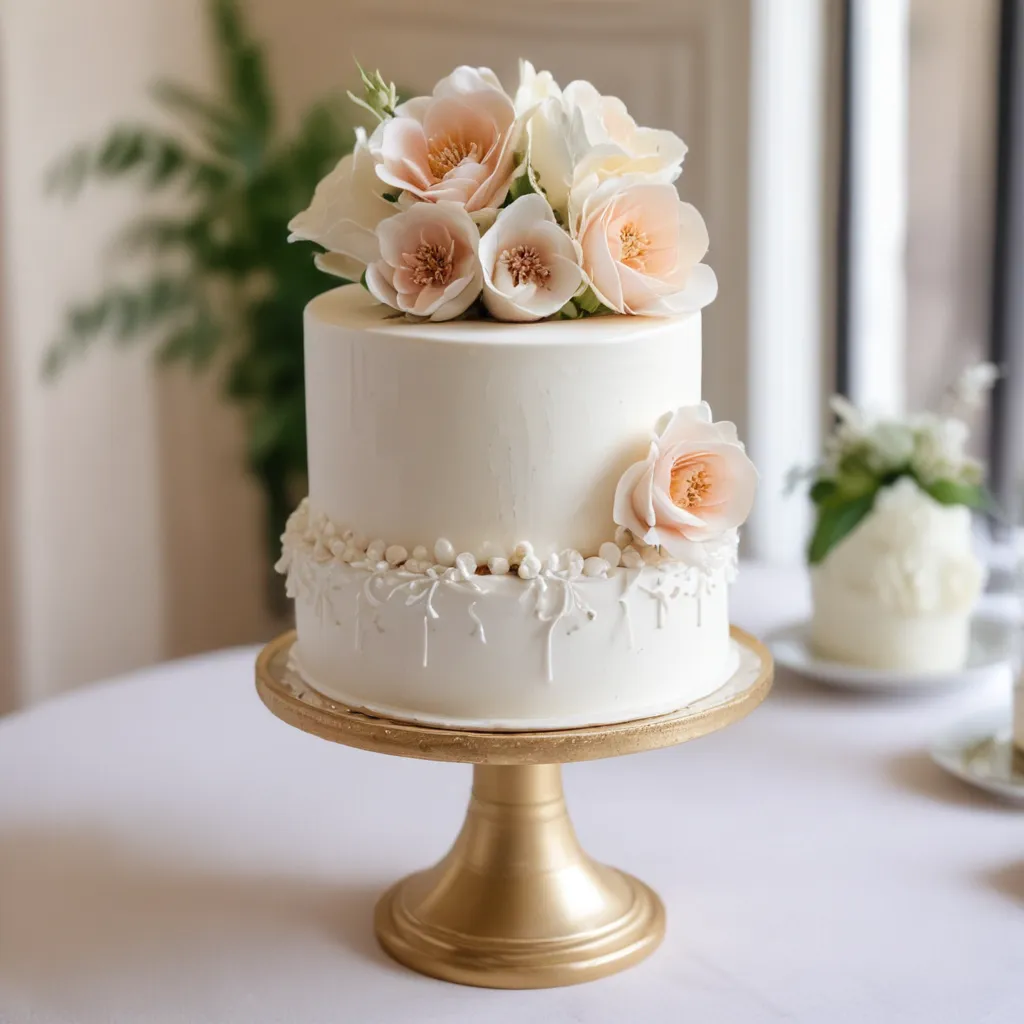
And let’s not forget about the final finishing touches. A good cake separator plate can really elevate the overall look, and don’t be afraid to get creative with your decorations. I’ve seen everything from fresh flowers to intricate sugar work, and each one can add that extra special something to your creation.
Delivering and Displaying: The Grand Unveiling
Phew, you made it! Your multi-tier masterpiece is assembled, decorated, and ready to make its grand debut. But before you hand it over to the happy couple, there’s one more crucial step: transportation and display.
Now, I know what you’re thinking – “But Jax, a cake is just a cake, right? How hard can it be to get it from Point A to Point B?” Oh, my sweet, naive friend. Let me tell you, the journey of a multi-tier cake is not for the faint of heart.
First and foremost, you’ll need to invest in a sturdy, well-designed cake box or carrier. Trust me, you do not want to be that person who shows up with a cake that’s been smooshed and mangled. And when it comes to the actual transport, I highly recommend having a dedicated team of helpers – these cakes are heavy, y’all!
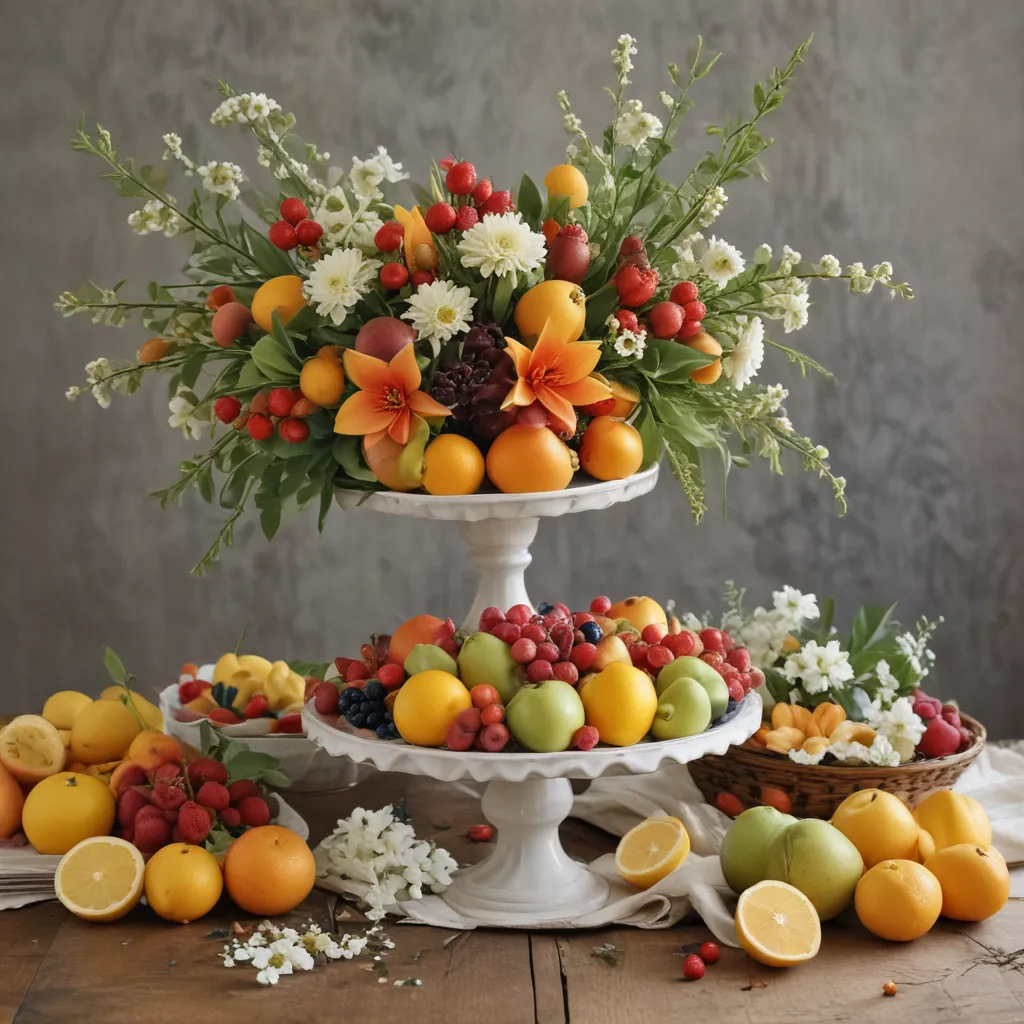
Once you’ve safely delivered your creation, it’s time to think about the display. Now, I know the temptation is to just plop it down on the nearest flat surface and call it a day, but trust me, a little extra effort can make all the difference. Consider a beautiful cake stand or table, and don’t be afraid to dress it up with some fresh flowers or other decorative elements.
And last but not least, don’t forget to snap some killer photos. After all, you’ve put in so much hard work – you deserve to show it off! Just make sure to get those shots before the guests start digging in. (Although, let’s be real, those crumbs are going to be delicious no matter what.)
Conclusion: The Sweet Rewards of a Job Well Done
Whew, there you have it – the complete guide to assembling a show-stopping multi-tier wedding cake. From the foundations to the final flourishes, it’s a true labor of love, but let me tell you, the end result is nothing short of magical.
As the owner of Jax Cake Shop, I’ve had the privilege of creating countless cakes for couples tying the knot, and let me tell you, there’s nothing quite like the look on their faces when they see their dream cake come to life. It’s a moment of pure joy and celebration, and it’s what keeps me coming back to the kitchen, day after day.
So, if you’re feeling up for the challenge, I say go for it! Embrace your inner cake artist, and let your creativity shine. And remember, no matter how many tiers you’re tackling, the key is to take it one step at a time, stay focused, and have fun with the process. After all, a wedding cake is so much more than just a dessert – it’s a centerpiece, a symbol of love, and a delicious work of art that will be remembered for years to come.
Now, if you’ll excuse me, I’ve got a consultation to prepare for. Someone’s tying the knot, and they’ve got their heart set on a five-tier masterpiece. Wish me luck!


