Ah, the wonderful world of cake decorating – where frosting and fondant become the canvas for our culinary masterpieces! If you’re anything like me, the mere thought of piping buttercream roses or meticulously crafting intricate sugar flowers is enough to send you into a mild panic attack. But fear not, my fellow cake enthusiasts, for I’m here to share some easy decorating techniques that even the most novice of bakers can tackle with confidence.
Mastering the Basics: Frosting and Piping Techniques
Let’s start with the foundation of any good cake – the frosting. Now, I know what you’re thinking: “But Jax, I can barely spread the stuff on without it ending up looking like a hot mess!” Trust me, I’ve been there. However, with a few simple tricks, you’ll be frosting like a pro in no time.
First and foremost, ensure your cake is completely cooled before you even think about grabbing that spatula. Trying to frost a warm cake is a recipe for disaster (pun intended). Once your cake is ready, start by applying a thin layer of frosting, known as the “crumb coat.” This acts as a barrier, preventing those pesky crumbs from ruining your final masterpiece.
Now, the key to smooth, professional-looking frosting is all in the technique. Hold your spatula at a 45-degree angle and gently swipe the frosting onto the cake, working your way around the sides and top. Smooth out any bumps or ridges as you go, and don’t be afraid to go back and touch up any imperfections.
But wait, there’s more! Piping is another essential skill in the world of cake decorating, and it’s not as daunting as it might seem. Start with a simple design, like a border around the top and bottom of your cake, or even just some dots or rosettes. The key is to practice, practice, practice. Grab a piping bag, fill it with your desired frosting, and just start doodling on a piece of parchment paper. Before you know it, you’ll be piping like a pro!
Elevating Your Designs with Fondant and Gum Paste
Ah, fondant – the unicorn of the cake decorating world. It may seem intimidating, but once you get the hang of it, the possibilities are endless. Fondant can be used to create everything from smooth, clean-looking cakes to intricate, three-dimensional designs.
Start by rolling out your fondant until it’s about 1/4 inch thick, then gently drape it over your frosted cake. Smooth it out with your hands, being careful not to stretch or tear the fondant. If you come across any wrinkles or bumps, simply use a fondant smoother or your hands to gently smooth them out.
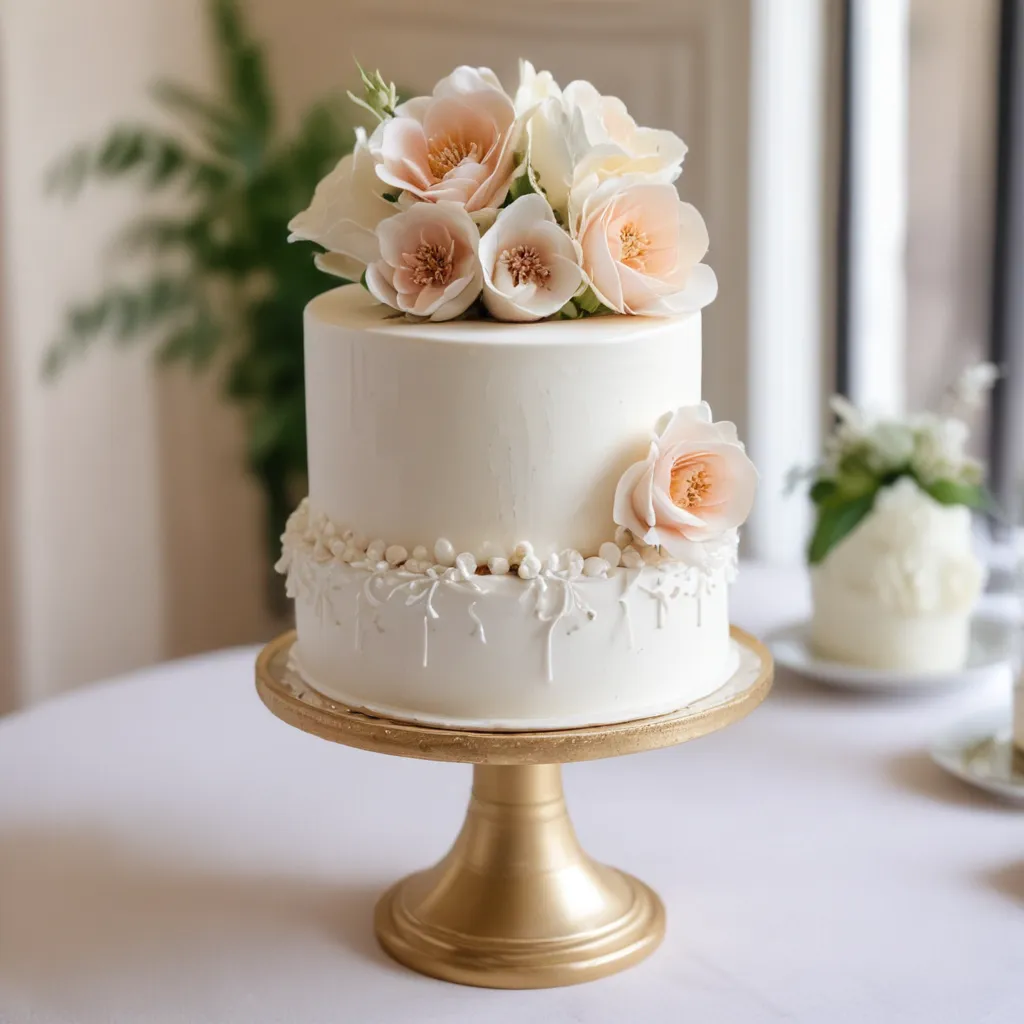
But why stop at a plain fondant cake? Gum paste, a cousin of fondant, is the secret weapon for creating stunning, edible decorations. With some practice and a little patience, you can craft everything from delicate flowers to intricate toppers. Just be sure to give your gum paste creations ample time to dry and harden before placing them on your cake.
Bringing in the Wow Factor with Specialty Techniques
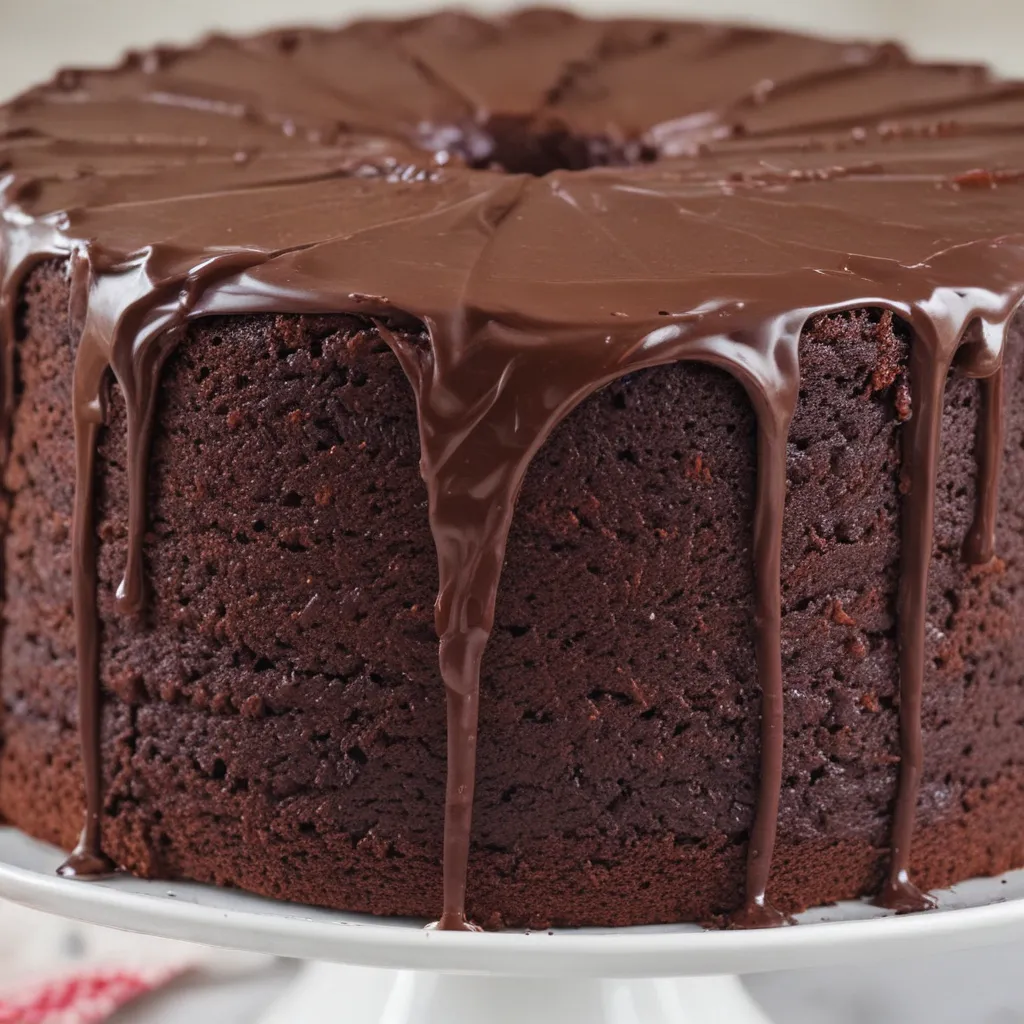
Now, let’s talk about taking your cake decorating skills to the next level. One of my personal favorite techniques is the “drip cake.” This involves creating a cascading effect of chocolate or colored ganache down the sides of the cake, giving it a truly showstopping appearance.
To achieve the perfect drip, start by chilling your frosted cake in the fridge for at least 30 minutes. This helps the frosting firm up, ensuring a nice, clean canvas for your drips. Then, prepare your ganache or glaze, making sure it’s the perfect consistency – not too thick, not too thin. Slowly pour or drip the mixture around the edges of the cake, letting it cascade down the sides. Add as much or as little as you’d like, and don’t be afraid to experiment with different colors or flavors.
Another technique that’s sure to impress is the use of stencils. These handy tools allow you to create intricate designs on the surface of your cake with ease. Simply place the stencil on top of your frosted or fondant-covered cake, then dust with powdered sugar, cocoa powder, or even luster dust for a touch of shimmer.
And let’s not forget about the ever-popular “naked cake” trend. This minimalist approach to cake decorating involves leaving the sides of the cake exposed, revealing the delicious layers of sponge and filling within. It’s a beautiful and often surprisingly simple way to showcase your baking skills.
Putting it All Together: Themed Cakes and Creative Designs
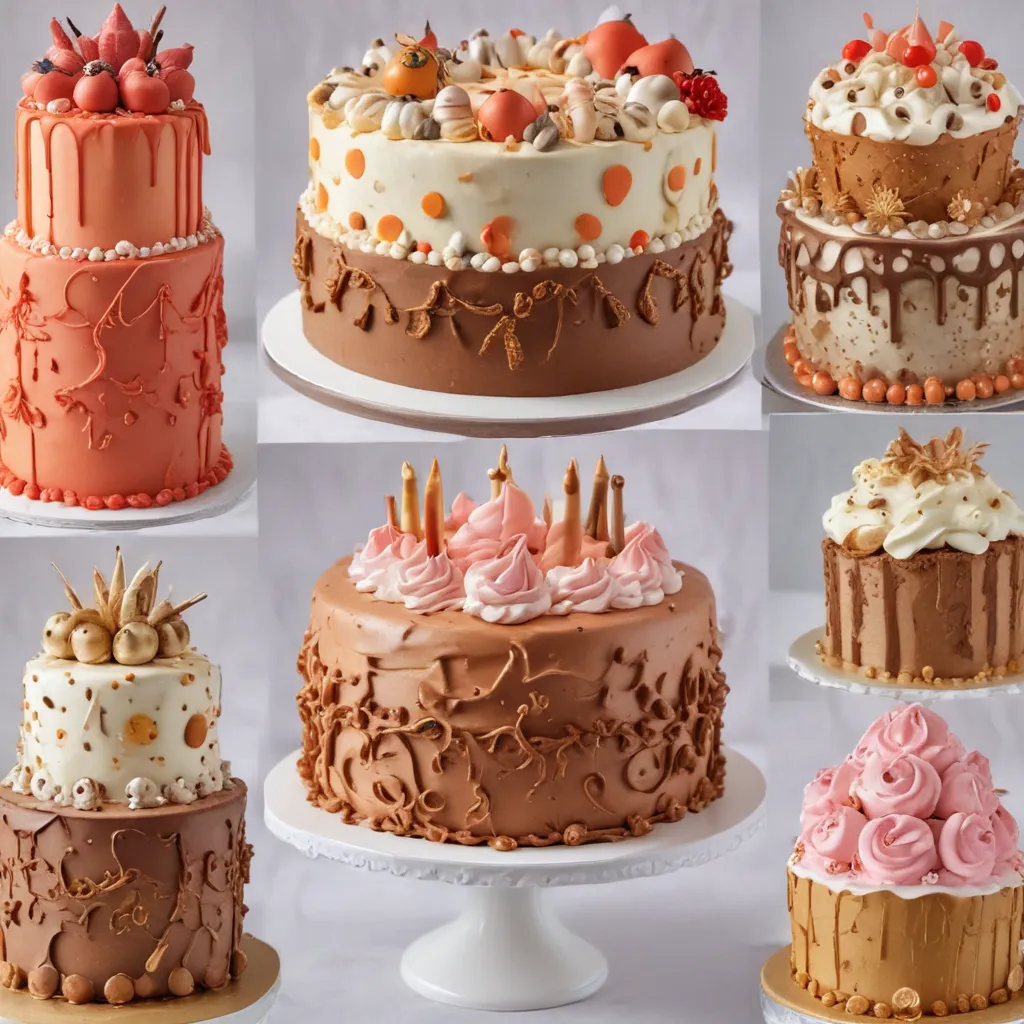
Now that we’ve covered the basics and some more advanced techniques, let’s talk about how to bring it all together to create truly show-stopping cakes. One of my favorite ways to flex my creative muscles is by designing themed cakes for special occasions.
Take, for example, the unicorn cake I made for my niece’s birthday last year. I started with a fluffy white cake, covered it in a light pink buttercream, and then used fondant to craft the most adorable unicorn horn, ears, and eyelashes. I even added a sparkly edible glitter to the horn for that extra bit of magic. The look on her face when she saw that cake was absolutely priceless!
Or how about the time I created a stunning 3D castle cake for a client’s medieval-themed wedding? I spent hours carefully crafting the intricate towers and turrets out of gum paste, and the end result was a true work of edible art. The bride and groom were so thrilled that they even had the cake preserved as a keepsake.
The key to designing eye-catching, themed cakes is to let your imagination run wild. Brainstorm ideas, sketch out rough designs, and don’t be afraid to try new techniques. And remember, the most important ingredient is always a healthy dose of passion and creativity.
Unleashing Your Inner Artist: Tips and Tricks for Budding Cake Decorators
Now, I know what you’re thinking: “But Jax, all of this sounds amazing, but how do I even get started?” Fear not, my friends, for I have a few tips and tricks up my sleeve to help you on your cake decorating journey.
First and foremost, don’t be afraid to experiment and make mistakes. Cake decorating is an art form, and like any art, it takes practice to master. Embrace the learning process, and don’t get discouraged if your first few attempts don’t turn out quite the way you envisioned. Trust me, even the most seasoned cake decorators have had their fair share of “oops” moments.
Another crucial tip is to invest in the right tools. A good set of piping bags, a variety of decorating tips, and a sturdy turntable can make all the difference in the world. And don’t forget to stock up on food coloring, edible glitters, and any other specialty ingredients or decorations you might want to use.
But perhaps the most important piece of advice I can give you is to have fun with it! Cake decorating should be a joy, not a chore. Put on your favorite playlist, pour yourself a cup of coffee (or a glass of wine, no judgment here!), and let your creativity flow. Who knows, you might just discover a hidden talent you never knew you had.
So, what are you waiting for? Grab your spatula, your piping bags, and let’s get to work! With a little practice and a whole lot of enthusiasm, you’ll be creating jaw-dropping, Instagram-worthy cakes in no time. And if you ever need a little inspiration or a friendly face to chat with, you know where to find me – right here at Jax Cake Shop, ready to help you unleash your inner cake artist.


