Ah, the elusive buttercream flower – the holy grail of cake decorating! If you’re anything like me, you’ve probably stared longingly at those meticulously piped blooms on Instagram, wondering how on earth the pros make it look so effortless. Well, my friend, your days of cake envy are over. Today, I’m going to let you in on all the secrets to achieving picture-perfect piped buttercream flowers.
The Buttercream Basics
Before we dive into the flower piping, let’s make sure we have a solid foundation in buttercream. After all, you can’t build a magnificent floral display without a sturdy base. I like to think of buttercream as the icing on the cake – both literally and figuratively. It’s the creamy, dreamy canvas upon which we’ll paint our edible masterpieces.
Now, there are a few different types of buttercream, each with their own unique properties. The one that works best for piped flowers is undoubtedly Swiss meringue buttercream. This silky smooth variety is sturdy enough to hold its shape, yet still pipes like a dream. It’s the Goldilocks of buttercreams – not too soft, not too firm, but just right.
To make the perfect Swiss meringue buttercream, you’ll need to master the delicate dance of whipping egg whites and sugar into a glossy meringue, then slowly incorporating butter until it transforms into a lush, spreadable frosting. It’s a bit of a process, but trust me, the end result is worth it. Plus, once you get the technique down, you can customize your buttercream with all sorts of fun flavors and colors.
Speaking of colors, let’s talk about how to achieve those vibrant, Instagram-worthy hues. I’m a bit of a color junkie, so I always have a well-stocked arsenal of gel food colorings on hand. A little goes a long way, so start with just a tiny drop and gradually build up the intensity until you reach your desired shade. And don’t be afraid to experiment with color combinations – you never know when you might stumble upon the next big cake trend!
Piping Perfection
Okay, now that we’ve got the buttercream basics down, let’s dive into the fun part – piping those gorgeous flowers! This is where the real magic happens, my friends. It’s like a dance, really – you and your piping bag, moving in perfect harmony to create these intricate, beautiful blooms.
The key to success is finding the right piping tip. My personal favorite is the Wilton 1M open star tip. It creates these perfect little rosettes that look like they belong on the cover of a fancy cake magazine. But don’t be afraid to experiment with other tips as well – you might just discover your signature flower style.
Next up, let’s talk about piping technique. It’s all about finding that sweet spot between too much pressure and not enough. You want to apply just the right amount of oomph to your squeezes, so the buttercream flows out smoothly and evenly. And don’t be afraid to practice, practice, practice. Piping flowers is kind of like riding a bike – it takes a bit of time to get the hang of it, but once you do, it becomes second nature.
One of the most common mistakes I see is people trying to pipe their flowers too fast. Slow and steady is the way to go, my friends. Take your time, and focus on creating clean, defined petals. Trust me, your patience will pay off in the end.
And speaking of patience, let’s talk about the importance of proper chilling. Buttercream flowers need to be properly chilled before you even think about decorating your cake. This helps them hold their shape and prevents them from melting into a buttercreamy mess. I like to chill my freshly piped flowers in the fridge for at least 30 minutes before assembling my cake.
Cake Couture
Now that we’ve conquered the buttercream and mastered the piping technique, it’s time to put it all together and create a cake fit for the pages of a high-fashion magazine.
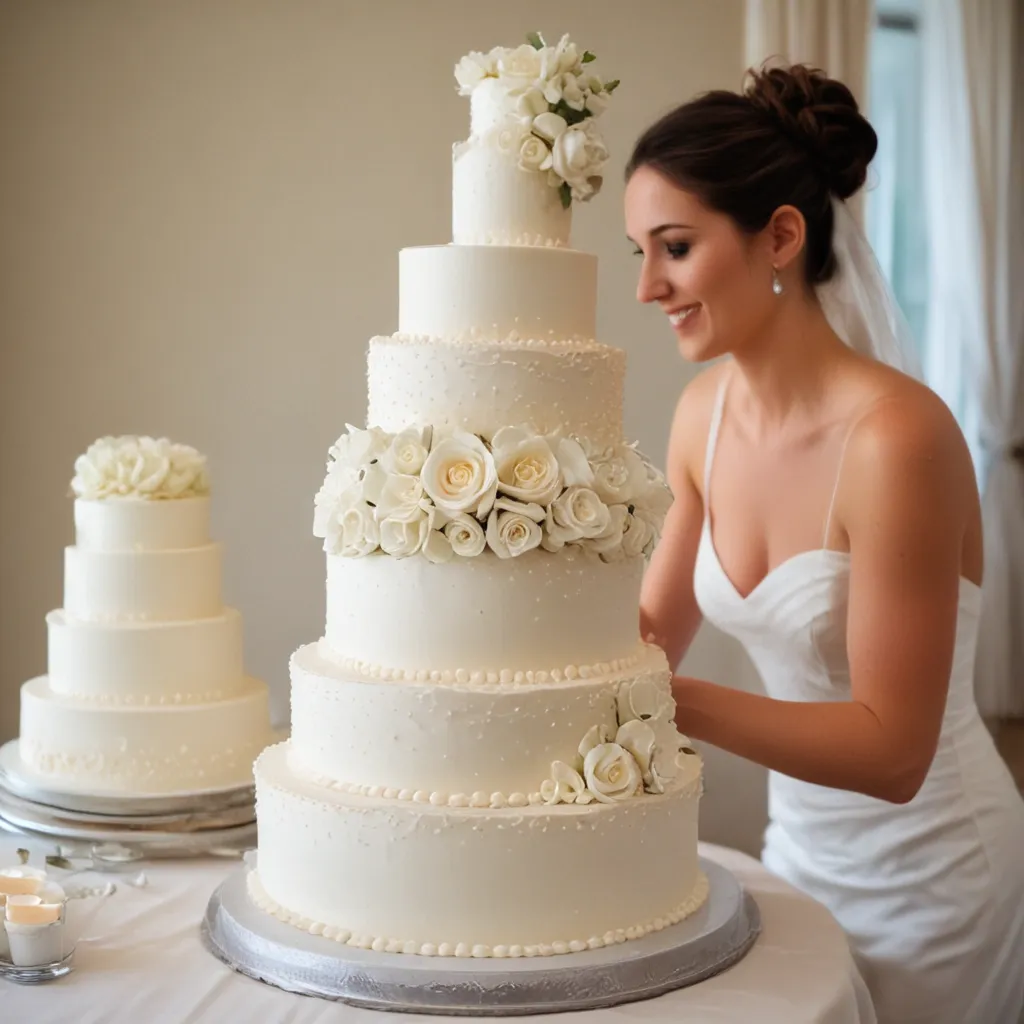
First up, let’s talk about cake size and shape. I find that a classic round cake works best as a canvas for buttercream flowers. The smooth, even surface provides the perfect foundation for your floral masterpiece. And when it comes to size, I like to stick to the 6-inch or 8-inch range. Anything bigger can get a little unwieldy, and you’ll risk your flowers getting lost in the shuffle.
Once you’ve got your cake shape and size sorted, it’s time to start assembling. I like to start with a crumb coat – a thin layer of buttercream that seals in any crumbs and gives you a nice, smooth surface to work with. Then, I’ll add a thicker, more opulent layer of buttercream, smoothing it out with a cake scraper or offset spatula. This is where the real artistry begins.
Now, the fun part – piping those gorgeous flowers! I like to start with a ring of flowers around the base of the cake, then work my way up, nestling the blooms close together to create a lush, cascading effect. And don’t be afraid to mix and match your flower styles – a little variety can go a long way in making your cake truly one-of-a-kind.
As you pipe, be sure to keep your flowers chilled and your piping bag nice and cool. You don’t want that buttercream melting and ruining all your hard work! And if you find yourself getting a little heavy-handed with the piping, don’t worry – you can always smooth out any wayward buttercream with a clean offset spatula.
Finally, once your cake is covered in its floral finery, it’s time to add the finishing touches. I like to top my cakes with a dusting of powdered sugar or a sprinkling of edible glitter. It adds just the right amount of sparkle and shine to really make those buttercream blooms pop.
The Icing on the Cake
There you have it, folks – the secret to achieving picture-perfect piped buttercream flowers. It may take a bit of practice, but trust me, the end result is well worth the effort. And who knows, maybe one day you’ll be the one inspiring cake envy on Instagram!
Now, if you’ll excuse me, I’ve got a cake to decorate. If you’re feeling inspired and want to see what other delicious creations we’ve cooked up, be sure to check out Jax Cake Shop. Until next time, happy baking!


