Ah, the sweet, silky, and oh-so-irresistible world of buttercream frosting! If you’re anything like me, you’ve likely spent countless hours agonizing over how to achieve that perfectly fluffy, melt-in-your-mouth texture that eludes so many home bakers. Well, my friends, your search is over. Today, I’m going to let you in on all the secrets to crafting bakery-worthy buttercream right in your own kitchen.
The Fundamentals of Buttercream
Let’s start with the basics, shall we? Buttercream is a classic frosting made from a few simple ingredients: butter, powdered sugar, and a touch of milk or cream. Sounds easy enough, right? Well, as with most things in life, the devil is in the details.
One of the key things to understand about buttercream is that the quality of your ingredients can make or break the final product. I’m talking about using high-quality, unsalted butter – none of that weird margarine stuff. And when it comes to the powdered sugar, be sure to sift it first to avoid any lumps or grittiness. Trust me, this extra step makes all the difference.
Another important factor is the ratio of butter to powdered sugar. Too much sugar, and your buttercream will be cloyingly sweet. Not enough, and it’ll be a greasy, oily mess. The sweet spot, in my experience, is a 1:2 ratio of butter to powdered sugar. But feel free to experiment a bit to find your perfect balance.
Mastering the Mixing Technique
Now that we’ve got the ingredients down, let’s talk about the all-important mixing process. This is where the magic really happens, my friends. And let me tell you, there’s an art to it.
First and foremost, make sure your butter is at the perfect temperature – cool, but not rock-hard. You want it to be soft enough to cream easily, but not so warm that it becomes a soupy, greasy mess. I find that letting it sit at room temperature for about 30 minutes usually does the trick.
Once your butter is ready, it’s time to get to work. Start by beating the butter on its own for a good 5-7 minutes, using either a stand mixer or a handheld electric beater. This is crucial for getting that light, fluffy texture. Trust me, don’t skimp on this step!
After the butter is nice and creamy, it’s time to gradually add in the powdered sugar. Now, here’s where things can get a little tricky. You’ve got to be patient and add the sugar in small increments, beating well between each addition. Rushing this process is a surefire way to end up with a dense, gritty buttercream.
And don’t forget to scrape down the sides of the bowl regularly to ensure everything is getting properly incorporated. We’re going for a silky-smooth, cloud-like texture here, folks.
Flavor Variations and Creative Twists
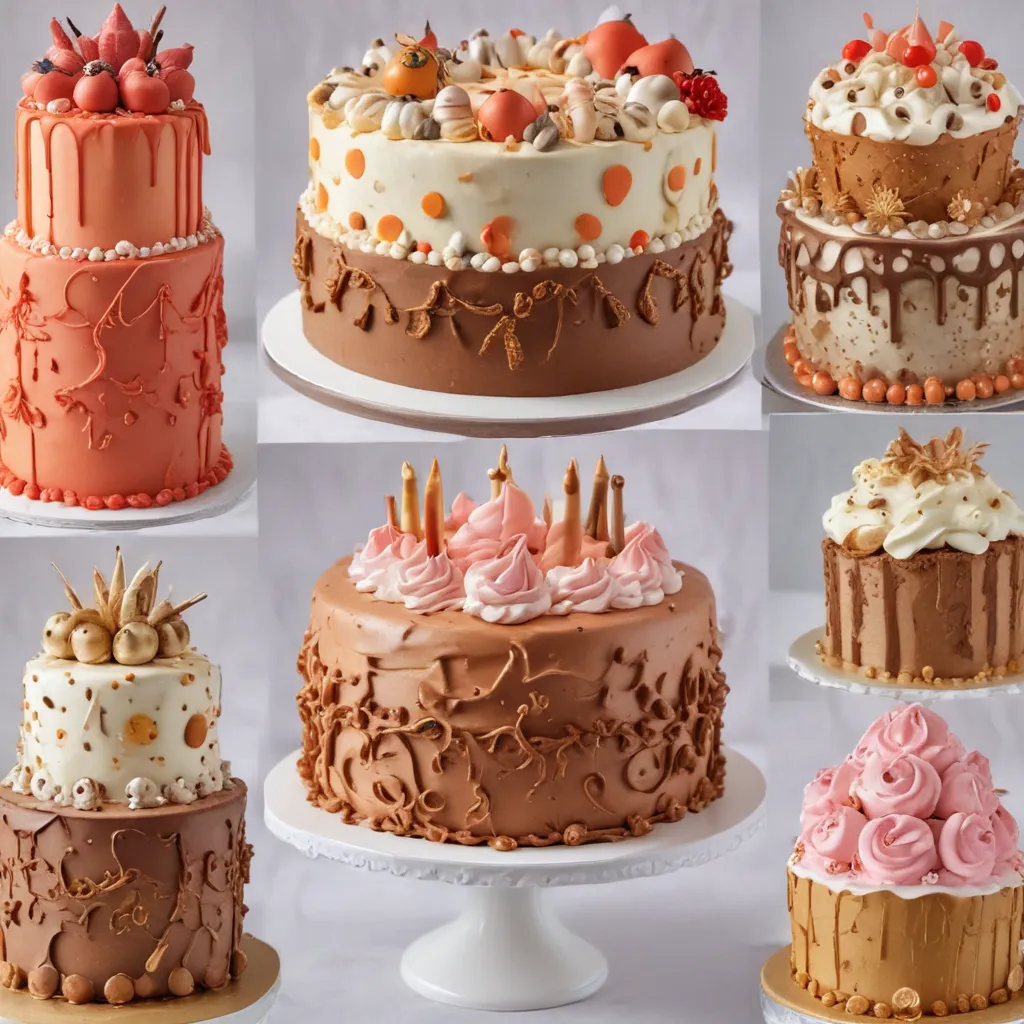
Ah, but the fun doesn’t stop there! Once you’ve mastered the basic buttercream formula, the world is your oyster when it comes to flavor variations and creative twists. Want to add a touch of vanilla? Go for it! Craving a hint of chocolate? No problem. How about a burst of citrus or a swirl of caramel? The possibilities are truly endless.
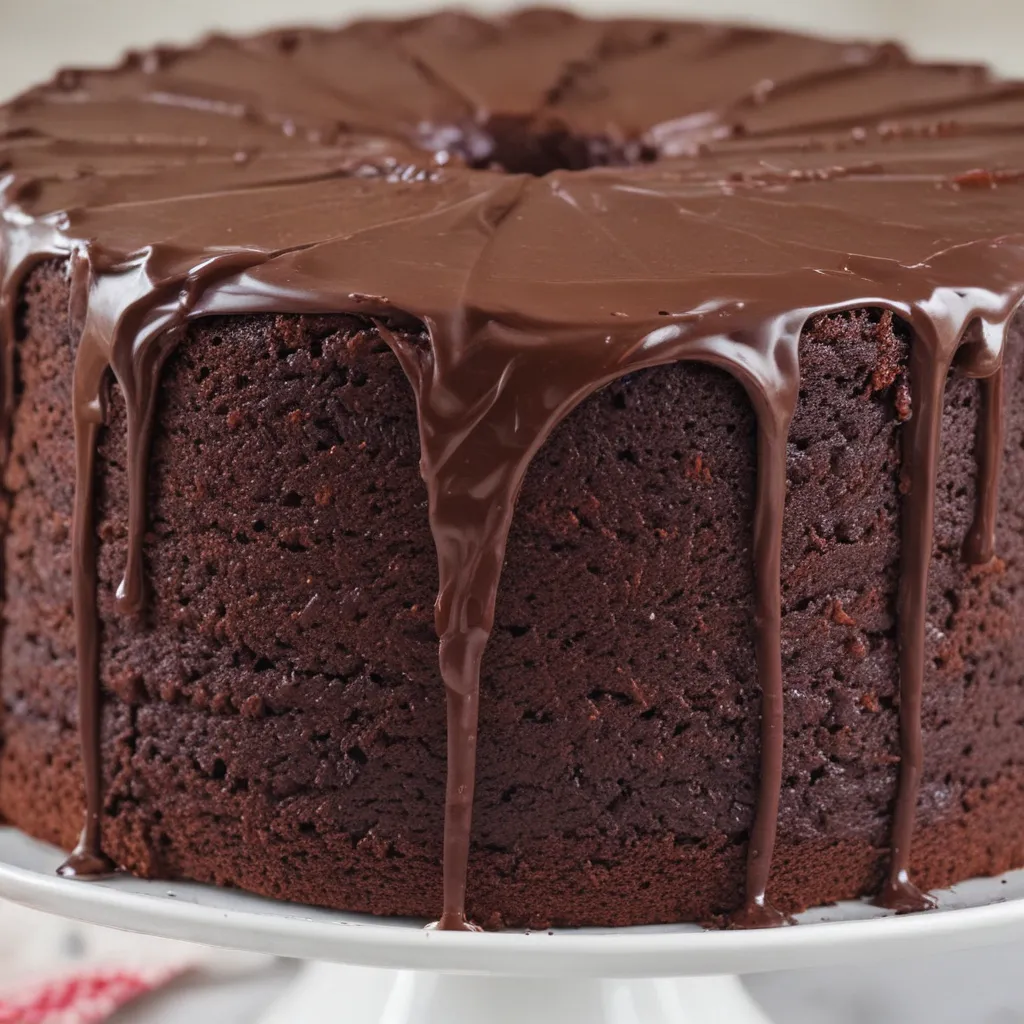
One of my personal favorites is a good old-fashioned chocolate buttercream. To make it, simply melt some high-quality chocolate (I’m a sucker for dark chocolate, but milk or white work too) and let it cool slightly before beating it into your basic buttercream. The result is a rich, decadent frosting that’s sure to satisfy even the most hardcore chocoholic.
Another fun variation is a strawberry buttercream, perfect for those spring and summer months. Just purée some fresh strawberries, strain out the seeds, and fold the puree into your buttercream. The vibrant pink hue and bright, fruity flavor will have your taste buds dancing with delight.
And let’s not forget about the classic cream cheese buttercream. By swapping out a portion of the butter for cream cheese, you end up with a tangy, creamy frosting that pairs beautifully with carrot cakes, red velvet, and so much more.
The sky’s the limit, my friends! Get creative, experiment, and have fun. After all, isn’t that what baking is all about?
Troubleshooting Tips and Tricks
Of course, no discussion of buttercream would be complete without a few troubleshooting tips and tricks up our sleeves. Because let’s be real, even the most seasoned bakers can run into the occasional hiccup.
One common issue is a buttercream that’s too stiff or dense. This can happen if you’ve added too much powdered sugar or if your butter was too cold to begin with. The fix? Simply beat in a tablespoon or two of heavy cream or milk until you achieve the perfect, silky-smooth consistency.
On the flip side, if your buttercream is too soft and greasy, chances are you’ve either used butter that was too warm or you haven’t whipped it long enough. In this case, pop the whole bowl into the fridge for 15-20 minutes, then resume beating until it firms up to your desired texture.
Another problem that can crop up is a buttercream that’s curdled or separated. This can happen if your ingredients weren’t at the proper temperature or if you added the sugar too quickly. But don’t worry, there’s an easy solution! Just keep beating the mixture on high speed, and it should come back together, good as new.
And finally, let’s talk about air bubbles. Nobody likes a buttercream with pesky air pockets, am I right? To avoid this, be sure to beat the mixture on high speed for several minutes, scraping down the sides of the bowl as needed. This will help incorporate air and create that irresistibly light, fluffy texture.
Putting it All Together
Alright, my fellow baking enthusiasts, I think we’ve covered just about everything you need to know to craft bakery-worthy buttercream in your own kitchen. From the perfect ingredient ratios to the all-important mixing technique, we’ve left no stone unturned.
Now, I know what you’re thinking: “But Jax, how do I actually apply this magical buttercream to my cakes and cupcakes?” Well, fear not, my friends. I’ve got you covered on that front, too.
When it comes to frosting your creations, the key is to work in small, manageable batches. Trying to frost an entire cake or dozens of cupcakes with one giant bowl of buttercream can quickly become a sticky, messy situation. Instead, keep your batches small and focused, using a piping bag or offset spatula to apply the frosting in smooth, even layers.
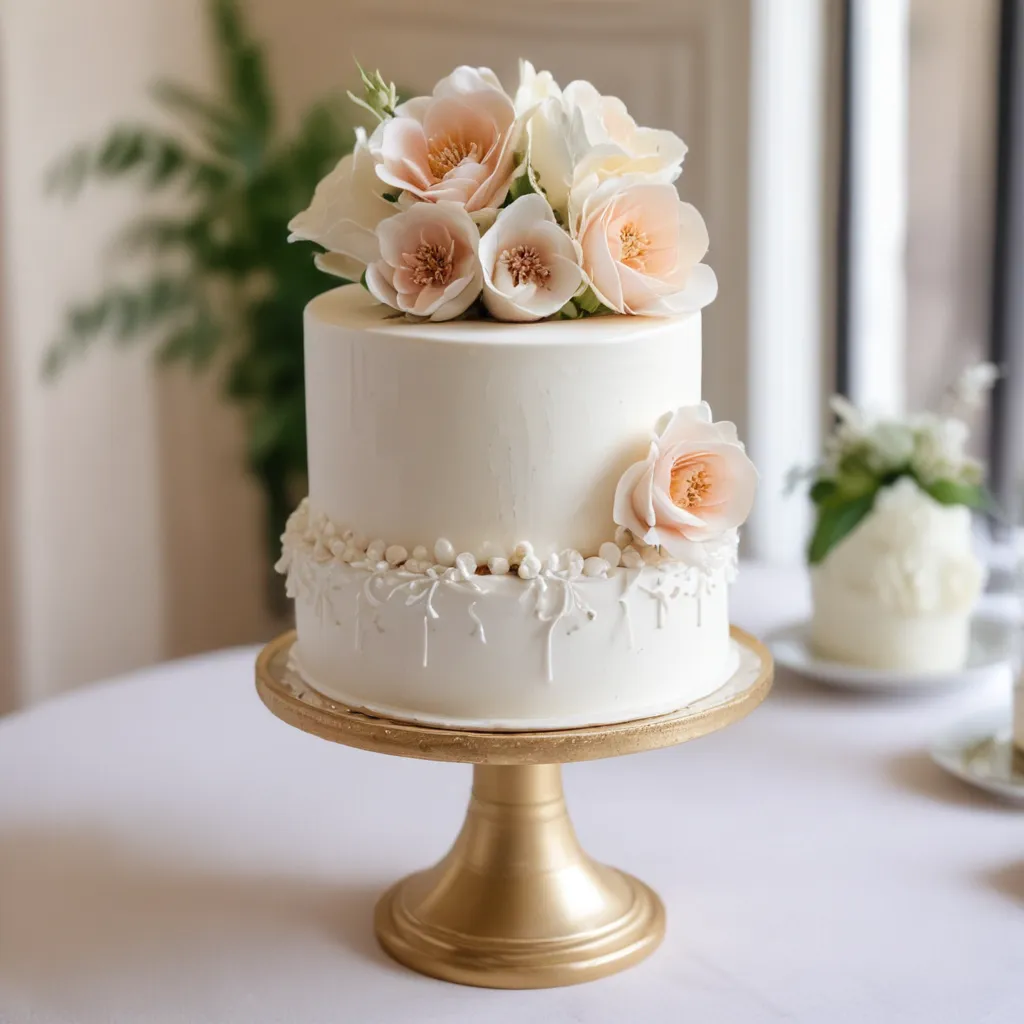
And don’t be afraid to get a little creative with your techniques. Try swirling, swooping, or even piping intricate designs on top of your cakes and cupcakes. The possibilities are endless, and the results are sure to impress.
So there you have it, folks – everything you need to know to conquer the art of bakery-worthy buttercream. Now, what are you waiting for? Get in the kitchen and start whipping up some sweet, fluffy goodness!
And if you’re in the mood for even more mouth-watering confections, be sure to check out Jax Cake Shop – your go-to destination for custom cakes and baked goods in the heart of San Jose. Trust me, their buttercream is to die for!


