Ahh, the art of sugar flower making – a delicate dance between sugar, water, and pure, unadulterated creativity. If you’re anything like me, the mere thought of adorning a cake with these delicate, edible blooms makes your heart flutter with excitement. But let’s be real, the process of actually making them can feel a bit daunting, am I right?
Well, fear not, my fellow cake decorating enthusiasts, because I’m here to guide you through the sweet, sticky journey of creating your very own stunning sugar flowers. Whether you’re a seasoned pro or a complete newbie, I promise that by the time we’re done here, you’ll be whipping up rose buds, peonies, and cherry blossoms like a total boss.
Gather Your Supplies
Alright, let’s start with the essentials. To embark on this sugary adventure, you’ll need a few key items in your arsenal. First and foremost, you’ll want to snag some good quality gum paste or fondant. This is the foundation of your flowers, so make sure you’ve got a nice, pliable batch ready to go.
Next up, you’ll need an assortment of tools – a rolling pin, various cutters and veining tools, a paintbrush, and maybe even a few silicone molds if you’re feeling fancy. Don’t forget the all-important edible food coloring, either. I’m talking vibrant pinks, sunny yellows, and lush greens – the more colors, the merrier!
And of course, no sugar flower workshop is complete without a hefty dose of patience and a healthy sense of creativity. These delicate blooms may seem intimidating, but I promise, with a little practice, you’ll be turning out masterpieces that’ll have your clients oohing and ahhing in no time.
Mastering the Art of Gum Paste
Alright, now that we’ve got our supplies in order, let’s dive into the nitty-gritty of gum paste preparation. You see, this isn’t your average modeling clay – oh no, my friends. Gum paste is a finicky little beast that requires a bit of finesse to tame.
First things first, you’ll want to knead that gum paste until it’s silky smooth and pliable. Think of it like a really intense hand massage for your dough – the more you work it, the more supple and responsive it becomes. And let me tell you, there’s something almost meditative about that rhythmic kneading motion. It’s like a little zen moment in the midst of your sugar flower frenzy.
Once your gum paste is ready to go, it’s time to start shaping those petals. Now, I know what you’re thinking – how in the world do I make something as delicate and intricate as a sugar flower? Well, my dear, that’s where those handy-dandy cutters and veining tools come into play.
Start by rolling out your gum paste to an even thickness, then grab your shape cutters and get to work. Gently press those cutters into the dough, being careful not to stretch or distort the petals. And don’t be afraid to get a little creative with the shapes – after all, Mother Nature is the ultimate artist, and her flowers come in all sorts of whimsical forms.
Bringing Your Flowers to Life
Alright, now that you’ve got your petals all cut out, it’s time to start bringing those babies to life. Grab your veining tools and get to work adding those delicate, lifelike details. Gently press and swirl the tool into the gum paste, creating those beautiful, organic patterns that’ll make your flowers look like they just bloomed straight from the garden.
But wait, there’s more! Once your petals are all veined and shaped, it’s time to start assembling your masterpiece. Grab a small paint brush and a bit of water, then use that to attach the petals together. Start with the center of your flower, then layer on the outer petals, using the water to help them stick.
And don’t be afraid to get a little creative with the assembly process, either. Mix and match different petal shapes, play with overlapping and clustered arrangements – the possibilities are endless! Just remember to let each layer dry completely before adding the next, otherwise you might end up with a sticky, sad mess on your hands.
Bringing the Color
Alright, now that your sugar flowers are all assembled and dried, it’s time to bring them to life with a little color. Grab those vibrant food coloring paints and get to work, my friends. Start with a base coat, then layer on the details – veins, edges, centers, the whole shebang.
And don’t be afraid to really go for it with the color. After all, these are edible works of art, so the brighter and bolder, the better! Just be sure to let each layer dry completely before adding the next, otherwise you might end up with a muddied, messy final product.
But the fun doesn’t stop there, oh no. Once your flowers are all painted and dried, you can take things to the next level with a little bit of luster dust or shimmery food-grade glitter. Just brush it on lightly with a clean, dry paintbrush, and watch those petals sparkle and shine like the true gems they are.
Putting it All Together
Alright, now that you’ve got your individual sugar flowers all prepped and ready to go, it’s time to put them to work. Grab your freshly baked cake (or, you know, that store-bought beauty you picked up on your way home from work – no judgment here!) and start getting creative.
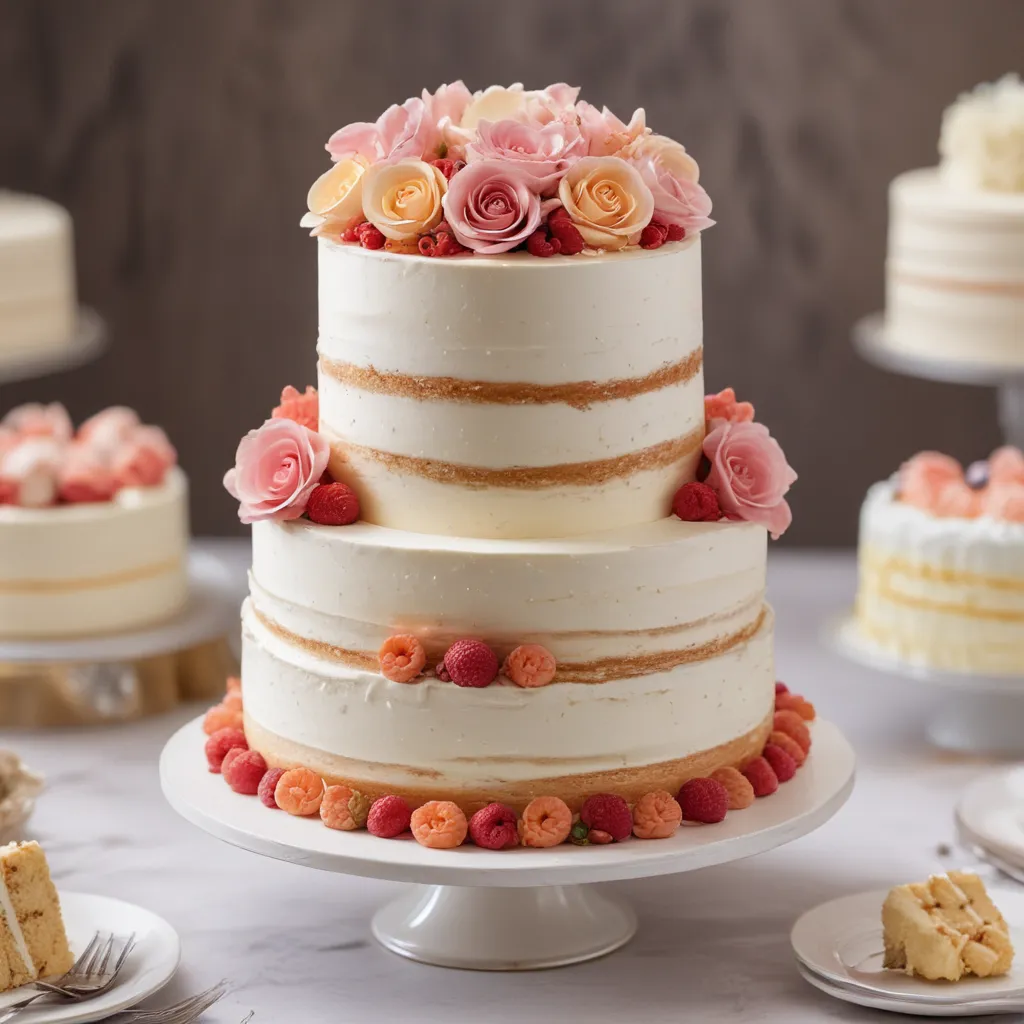
Arrange your flowers in lush, romantic clusters, or scatter them playfully across the top of the cake. Play with height and dimension, using a mix of open blooms and tight buds for added visual interest. And don’t be afraid to get a little asymmetrical – after all, nature’s bouquets are never perfectly symmetrical, and that’s half the charm.
And the best part? These sugar flowers aren’t just for looking at – they’re meant to be savored! That’s right, my friends, these delicate blooms are 100% edible, so feel free to dive in and enjoy every last sugary petal.
A Sweet Finishing Touch
There you have it, folks – the secrets to creating your very own edible sugar flower masterpieces. Now, I know what you’re thinking – “But Jax, how do I actually get these beauties on my cake without completely decimating them?” Well, fear not, because I’ve got a few tricks up my sleeve.
First and foremost, make sure to handle those flowers with the utmost care. Use a clean, dry paintbrush or tweezers to gently lift and place each blossom, taking care not to smush or distort the delicate petals. And when it comes time to attach them to the cake, a little bit of royal icing or fondant adhesive can work wonders.
And hey, if you’re feeling extra fancy, you can even go the route of creating a special stand or holder for your sugar flowers. Think of it as a mini flower bouquet for your cake – a whimsical, edible centerpiece that’s sure to wow your guests.
So what are you waiting for? Grab your gum paste, fire up your creativity, and let’s get to work on those sugar flower showstoppers! I promise, the end result will be well worth the effort. And who knows, maybe you’ll even start a new cake decorating side hustle or two – the world is your sugary oyster, my friends.
Now, if you’ll excuse me, I’ve got a cake to decorate. Happy flower making, y’all!


