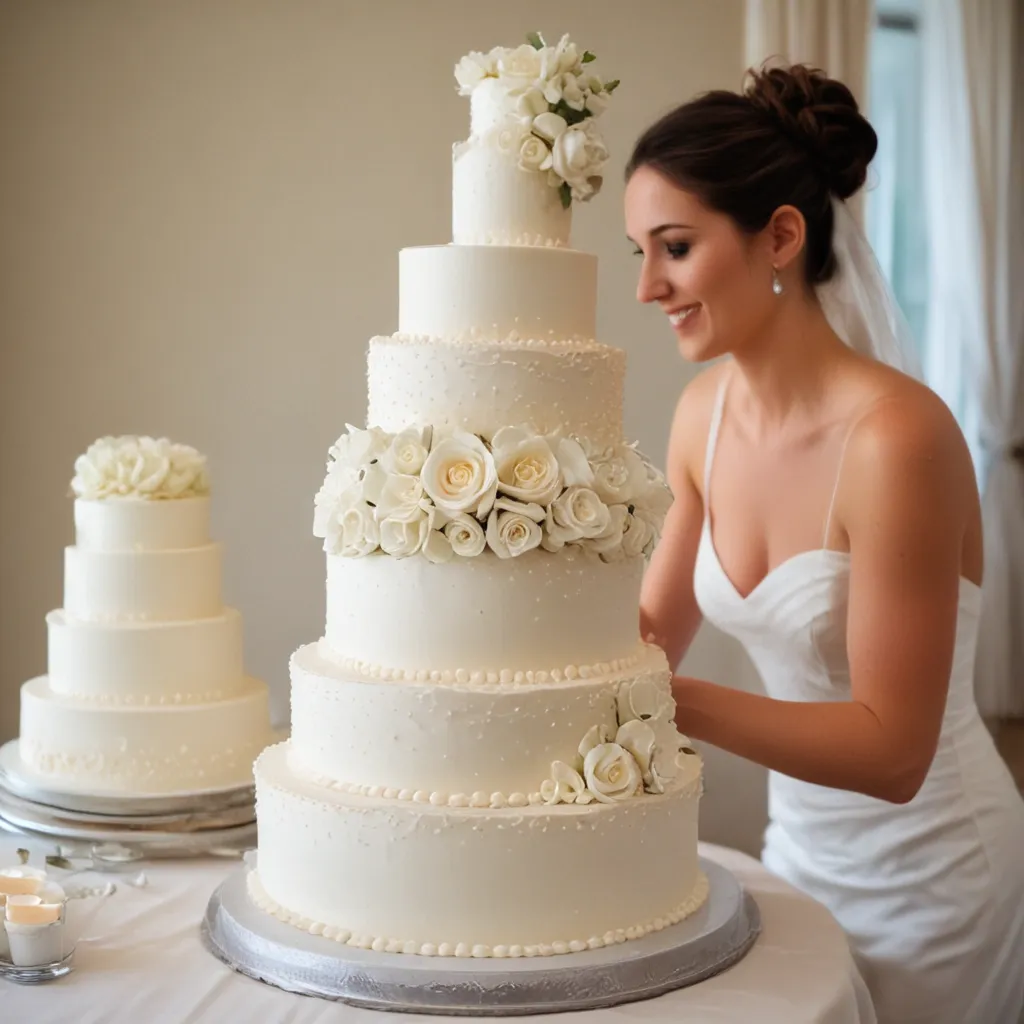
Ah, the elusive art of stacking and assembling a multi-tier cake – it’s like trying to build a Jenga tower while blindfolded and riding a unicycle. But fear not, my fellow cake enthusiasts, for I, the Cake Whisperer, am here to guide you through this delicate dance of sugar, butter, and sheer determination.
The Foundation: Preparing Your Cake Layers
Let’s start at the very beginning, the foundation upon which all great cakes are built. You see, the key to a towering, show-stopping dessert is to ensure that each layer is perfectly level and sturdy. And let me tell you, leveling a cake is no easy feat – it’s like trying to balance a butterfly on a toothpick while juggling flaming chainsaws. But fear not, I have a secret weapon up my sleeve.
First, you’ll want to make sure your cakes are completely cooled before attempting any sort of leveling or stacking. Trust me, trying to work with a warm, spongy cake is like trying to stack marshmallows in a hurricane. Once your cakes have had a chance to chill out and get comfortable in their new found coolness, it’s time to break out the trusty serrated knife and get to work.
Gently, but firmly, run the knife around the perimeter of the cake, removing any domed or uneven tops. Imagine you’re performing delicate cake surgery – you want to be precise, but not too aggressive. Think of it like trimming your bangs – you can always take off more, but you can’t glue it back on. Once you’ve got those pesky domes tamed, it’s time to get stacking.
The Art of Stacking: Aligning and Assembling
Alright, now that we’ve got the foundation laid, it’s time to start stacking. This is where the real magic happens, my friends. Imagine you’re building a cake-tacular skyscraper, complete with buttercream mortar and a sprinkle-dusted skyline.
First, you’ll want to decide on the order of your cake layers. Should the biggest one go on the bottom? Or should you start small and work your way up? Personally, I like to channel my inner architect and start with the largest tier on the bottom, creating a sturdy base to support the upper levels. But hey, you do you – this is your masterpiece, after all.
Once you’ve got your layer plan in place, it’s time to start stacking. Carefully place the first layer on your cake board or stand, making sure it’s centered and level. Now, this is where things can get a little tricky – you’ll want to use some sort of support system to keep those upper tiers from collapsing like a house of cards in a hurricane.
Enter the mighty dowel rod! These little guys are the unsung heroes of the cake world, providing the structural integrity needed to keep your creation standing tall. Measure the height of your cake tiers, then cut the dowels to the appropriate length. Gently push them into the bottom layer, making sure they’re evenly spaced and flush with the top. It’s like building a mini cake-skeletal system – sturdy, yet invisible to the naked eye.
Now, it’s time to add the next layer. Carefully place it on top of the dowels, making sure it’s perfectly centered and level. Repeat this process with the remaining tiers, always ensuring that each layer is properly supported and aligned. It’s like playing a high-stakes game of Jenga, but with delicious rewards at the end.
The Finishing Touches: Mastering the Buttercream Technique
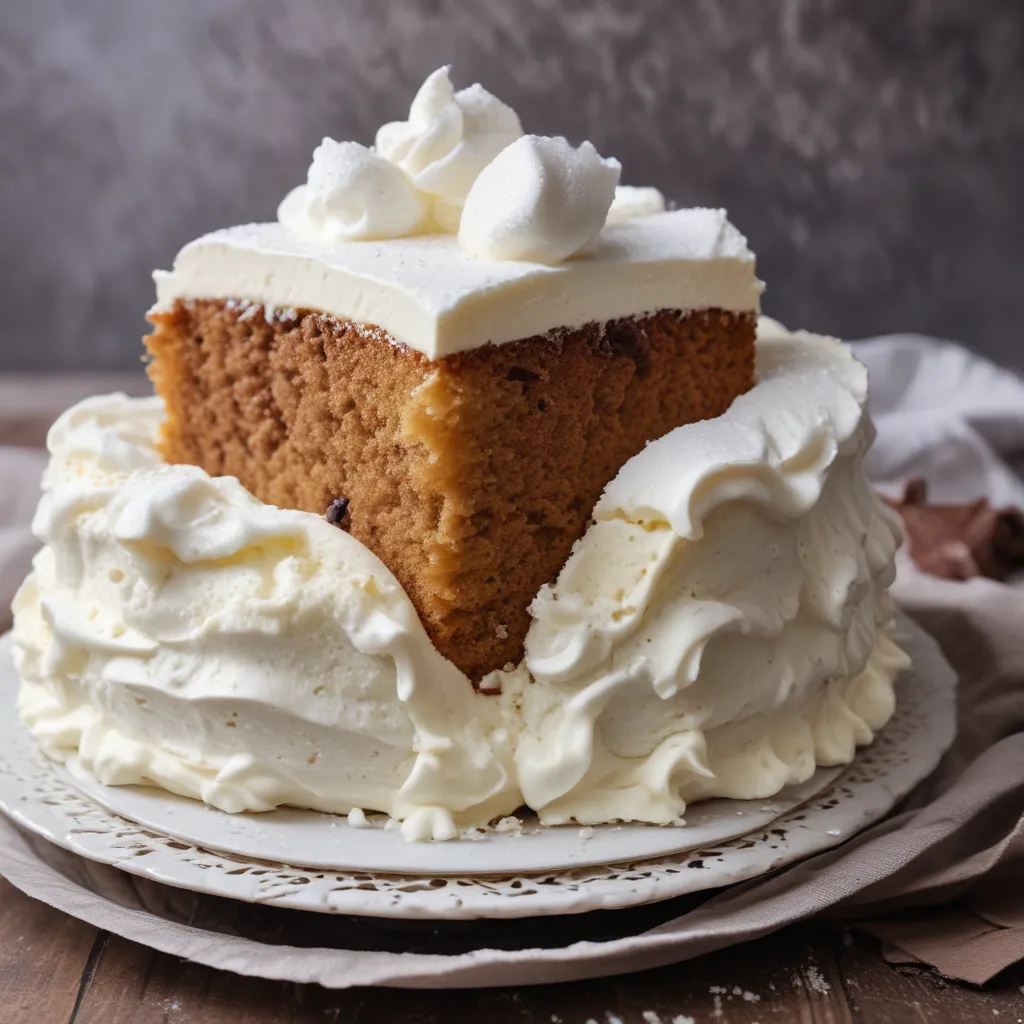
Ah, the crowning glory of any multi-tier cake – the buttercream. This silky-smooth, spreadable delight is the glue that holds our cake masterpiece together, both literally and figuratively. But let me tell you, mastering the art of buttercream is no easy feat. It’s like trying to sculpt a cloud while riding a rollercoaster.
First, you’ll want to make sure your buttercream is at the perfect consistency – not too thick and gloopy, but not too thin and runny. It’s a delicate balance, my friends, like trying to keep a hummingbird still in a hurricane. Using an offset spatula, gently smooth the buttercream over the cake’s surface, starting from the bottom and working your way up. Imagine you’re painting a masterpiece, but with a medium that’s slightly more delicious.
As you move from tier to tier, be sure to keep your work area clean and tidy. Spatters of buttercream can quickly turn your cake assembly into a Jackson Pollock painting, and not the tasty kind. Wipe down your tools and surfaces regularly, and don’t be afraid to take a break if things start to get a little chaotic.
Finally, the moment of truth – the final decorative touches. Whether you choose to adorn your cake with delicate flowers, shimmering edible glitter, or a stylish drip effect, the key is to let your creativity shine. This is your chance to turn your multi-tier creation into a true work of art, a dessert so stunning that it’ll have your guests reaching for their cameras before their forks.
Troubleshooting and Tips
But wait, there’s more! As with any culinary adventure, there are bound to be a few bumps in the road. Fear not, my fellow cake enthusiasts, for I have a few troubleshooting tips up my sleeve.
First and foremost, don’t be afraid to take your time. Rushing through the stacking and assembly process is like trying to skip to the end of a mystery novel – you’ll just end up with a big, confusing mess. Slow and steady wins the cake race, my friends.
And speaking of messes, let’s talk about buttercream. If you find that your buttercream is too thick and difficult to work with, try adding a bit of heavy cream or milk to thin it out. Conversely, if it’s too thin and runny, simply pop it in the fridge for a few minutes to firm it up.
Another common issue? Crumbs, crumbs everywhere! Fear not, for a simple crumb coat is the solution to this pesky problem. Just apply a thin layer of buttercream over the entire cake, then pop it in the fridge to set. This will create a smooth, crumb-free surface for your final decorations.
And finally, let’s talk about the dreaded cake collapse. If you find that your carefully stacked layers are starting to sag or shift, don’t panic. Gently remove the top tiers, add a few more dowel rods to the lower layers, and try again. Remember, Rome wasn’t built in a day, and neither was the perfect multi-tier cake.
Conclusion: Embrace the Journey
So there you have it, my fellow cake enthusiasts – the secret to stacking and assembling a multi-tier cake like a pro. It may seem like a daunting task at first, but with a little patience, a lot of buttercream, and a healthy dose of determination, you too can become a cake stacking superstar.
And remember, the true joy of baking isn’t just in the final product – it’s in the journey. So embrace the challenges, laugh at the setbacks, and revel in the sweet satisfaction of creating a dessert that’s not just delicious, but a true work of art.
Now, if you’ll excuse me, I’ve got a towering, six-tier masterpiece to start assembling. Wish me luck, and don’t forget to visit Jax Cake Shop for all your custom cake needs!


