Ahhh, the sweet, sweet world of cake decorating – where precision, creativity, and a whole lot of patience come together to create edible works of art. As the proud owner of Jax Cake Shop in San Jose, I’ve had my fair share of triumphs and tribulations when it comes to achieving that elusive, silky-smooth frosting consistency. But fear not, my fellow cake enthusiasts, for I’m about to share with you the secrets to perfecting your frosting game and delivering cakes that will have your clients swooning.
The Science Behind Frosting Consistency
Now, I know what you’re thinking – “Science? In my cake-decorating world? Get outta here!” But bear with me, my friends, because understanding the science behind frosting consistency is the key to unlocking your full cake-decorating potential.
You see, the texture and spreadability of your frosting all comes down to the delicate balance of fat, sugar, and liquid. Too much fat, and your frosting will be greasy and difficult to work with. Too much sugar, and it’ll be stiff and unyielding. And too much liquid? Well, let’s just say you’ll be dealing with a runny, drippy mess.
But fear not, for I’ve got the perfect formula for you. The secret lies in the ratio of butter to powdered sugar, with a touch of heavy cream to bring it all together. Trust me, once you nail this ratio, your frosting will be silky-smooth, easy to spread, and hold its shape like a champ.
The Importance of Temperature Control
Now, you might be thinking, “Okay, I’ve got the ratios down, but what about the temperature?” Ah, yes, the temperature – the unsung hero of the frosting world.
You see, the temperature of your ingredients can make or break your frosting consistency. If your butter is too cold, it’ll be difficult to incorporate into the powdered sugar, leading to a lumpy, grainy texture. But if it’s too warm, well, let’s just say you’ll be dealing with a melty, runny mess.
The key is to strike the perfect balance – your butter should be at room temperature, soft to the touch but not greasy or oily. And when it comes to the powdered sugar and heavy cream, make sure they’re also at room temperature. This will ensure that all of your ingredients come together seamlessly, resulting in a frosting that’s smooth, creamy, and oh-so-easy to work with.
Mastering the Mixing Technique
Now, you might be thinking, “Okay, I’ve got the ratios and the temperature down, but how do I actually mix this thing?” Well, my friends, that’s where the real magic happens.
You see, the way you mix your frosting can have a huge impact on its texture and consistency. If you rush through it, you’ll end up with air pockets and lumps galore. But if you take your time and follow a specific mixing technique, you’ll be rewarded with a frosting that’s smooth, silky, and oh-so-easy to work with.
The secret? Start by creaming your butter until it’s light and fluffy. Then, gradually add in your powdered sugar, mixing until it’s fully incorporated. Once that’s done, slowly stream in your heavy cream, mixing on high speed until your frosting reaches the perfect, spreadable consistency.
And here’s a little pro tip for you: be sure to scrape down the sides of your bowl regularly to ensure that all of your ingredients are evenly mixed. Trust me, this extra step makes all the difference in the world.
Troubleshooting Common Frosting Issues
Now, I know what you’re thinking – “This all sounds great, but what if I run into some problems along the way?” Fear not, my friends, for I’ve got your back.
One of the most common issues I see with frosting consistency is a grainy or lumpy texture. This can be caused by a number of factors, from using cold ingredients to over-mixing the frosting. But fear not, there’s a simple solution – simply pop your frosting in the microwave for a few seconds, then re-whip it until it’s smooth and creamy.
Another common problem is a frosting that’s too stiff or too soft. If your frosting is too stiff, you can try adding a bit more heavy cream to loosen it up. And if it’s too soft, simply add a bit more powdered sugar until you reach the perfect, spreadable consistency.
And let’s not forget about the dreaded “weeping” frosting – you know, the kind that starts to separate and get all watery on you. This can be caused by a number of factors, from over-whipping your frosting to using ingredients that aren’t at the right temperature. But fear not, there’s a simple solution – just re-whip your frosting on high speed until it comes back together.
Real-Life Frosting Conundrums (and How I Solved Them)
Now, I know what you’re thinking – “Okay, this all sounds great in theory, but how does it work in the real world?” Well, let me tell you, I’ve had my fair share of frosting challenges over the years, and I’m here to share some real-life examples of how I’ve conquered them.
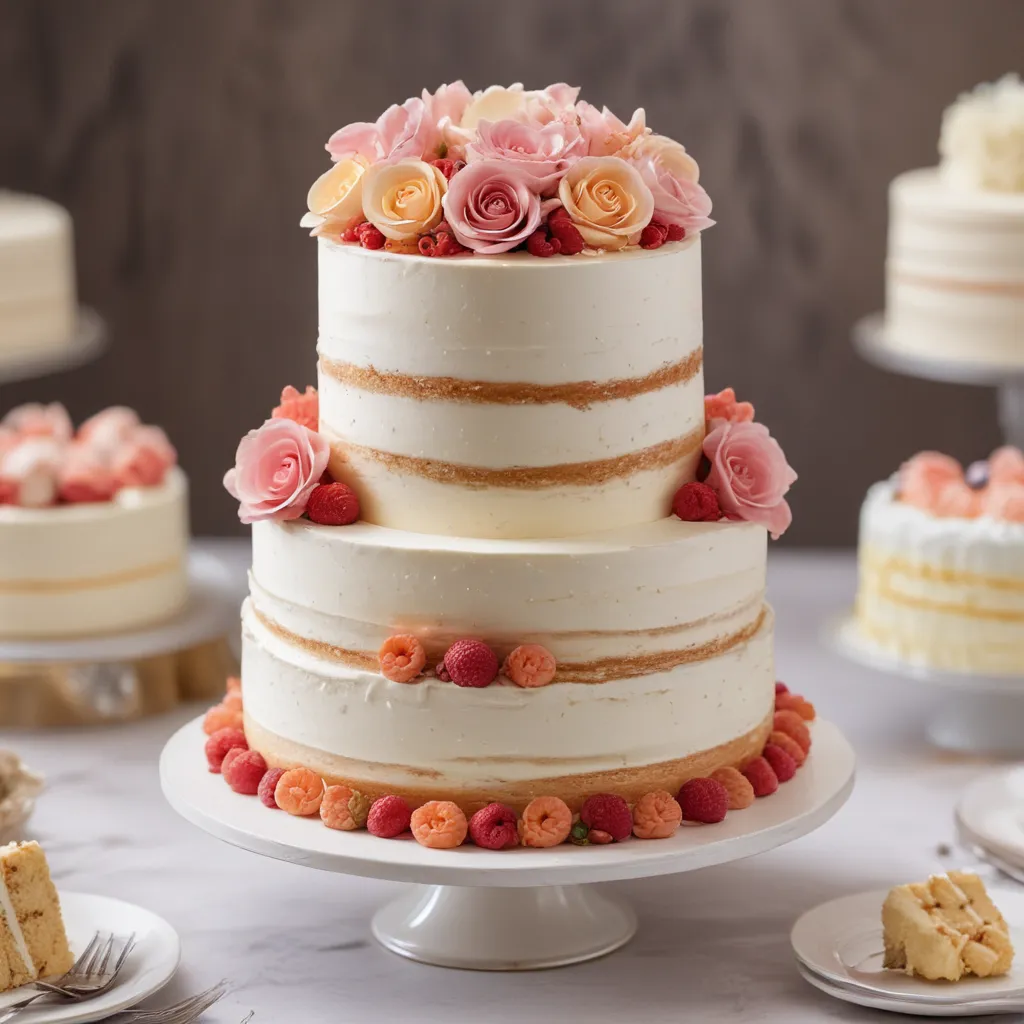
Take, for instance, the time I was tasked with creating a towering, three-tier wedding cake with a smooth, flawless finish. I knew that the frosting consistency would be critical, as any lumps or bumps would be glaringly obvious on such a large-scale project. So, I put my frosting know-how to the test, carefully measuring and mixing my ingredients to perfection.
But just as I was about to start applying the frosting, disaster struck – my kitchen suddenly lost power! Now, I could have panicked and thrown in the towel, but instead, I channeled my inner cake-decorating superhero and got to work. I quickly fired up my trusty portable generator, keeping my butter at the perfect temperature and whipping up a batch of frosting that was as smooth as silk.
And let me tell you, the final product was a sight to behold – a towering, three-tier masterpiece with a flawless, mirror-like finish. The client was over the moon, and I was beaming with pride (not to mention a little bit of relief!).
But it’s not just large-scale projects that can pose a challenge. Sometimes, it’s the little things that can trip us up. Take, for instance, the time I was creating a delicate, intricate design on a small, single-tier cake. I knew that the frosting consistency would be crucial, as any unevenness or lumps would ruin the entire look.
So, I carefully measured and mixed my ingredients, paying close attention to the temperature and mixing technique. But just as I was about to start piping, I realized that my frosting had started to stiffen up. Panic started to set in, but then I remembered one of my trusty frosting tricks – a quick zap in the microwave!
I popped the frosting in for a few seconds, then re-whipped it until it was silky-smooth and perfectly spreadable. And let me tell you, the final result was a work of art – a delicate, intricate design that had my client raving for weeks.
Conclusion: Embrace the Frosting, Conquer the Cake
So, there you have it, folks – the secrets to perfecting your frosting consistency and delivering cakes that will have your clients swooning. From understanding the science behind the perfect ratio to mastering the art of temperature control and mixing technique, I’ve shared it all with you.
And let me tell you, the journey to frosting perfection is not always a easy one. There will be ups and downs, triumphs and tribulations, but with a little bit of practice and a whole lot of patience, you’ll be well on your way to creating cakes that are not only delicious, but downright stunning.
So, what are you waiting for? Grab your mixer, your butter, and your powdered sugar, and let’s get to work! With a little bit of frosting know-how and a whole lot of creativity, the sky’s the limit when it comes to the cakes you can create.
And if you’re ever in the San Jose area, be sure to stop by Jax Cake Shop – I’ll be waiting with a freshly baked, frosting-covered masterpiece, just for you.


