Unveiling the Art of Crafting Towering Delights
As the owner of Jax Cake Shop, a quaint custom cake boutique nestled in the heart of San Jose, I’ve had the privilege of creating some truly jaw-dropping layer cakes over the years. From classic vanilla-on-vanilla beauties to decadent chocolate-on-chocolate masterpieces, I’ve perfected the art of stacking, filling, and frosting these towering treats. And let me tell you, it’s no easy feat – but the end result is always worth it.
You see, there’s a certain magic that happens when you layer moist, flavorful cake with luscious buttercream or silky ganache. The interplay of textures and flavors is simply divine. But crafting a tall, sturdy layer cake takes more than just slapping a few cakes together and hoping for the best. Oh no, my friends. There’s a precise science to it – and I’m about to spill all the secrets.
The Foundation: Baking Flawless Cake Layers
It all starts with the cake itself. Now, I know what you’re thinking – “How hard can it be to bake a cake?” Well, let me tell you, there’s a world of difference between a ho-hum sheet cake and a towering layer cake that can support the weight of multiple tiers without collapsing.
To begin, I always use a high-quality cake flour that’s been sifted to ensure a fine, even crumb. This helps prevent those pesky air pockets and uneven bakes that can derail your entire cake-building endeavor. I also take the time to cream the butter and sugar together until it’s light and fluffy, which incorporates air into the batter and results in a tender, moist cake.
Another secret weapon in my arsenal? Using room-temperature ingredients. I know it’s tempting to just toss everything in straight from the fridge, but trust me, taking the time to let your eggs, milk, and butter come up to room temp makes a world of difference. It helps everything blend together seamlessly, leading to a cake that rises beautifully and bakes evenly.
Now, when it comes to actually baking the layers, I’ve found that using cake strips or bake-even strips is an absolute game-changer. These handy little gadgets wrap around the outside of the cake pans, helping to insulate the sides and prevent those dreaded domed tops. The result? Perfectly flat, even cake layers that are ready to be stacked and filled.
Mastering the Stacking and Filling
Alright, so you’ve got your flawless cake layers – now what? Well, my friends, the real magic happens in the assembly. This is where all your hard work in the kitchen really shines through.
First and foremost, it’s crucial to make sure your cake layers are completely cool before you start stacking. Trying to assemble a warm cake is a recipe for disaster (pun very much intended). I always let mine cool completely on a wire rack before even thinking about touching them with a knife or spatula.
Once they’re nice and cool, it’s time to start stacking. I like to use a sturdy cake board or thick cardboard round as the foundation, then carefully place the first layer right in the center. From there, I use a generous amount of buttercream or ganache to “glue” the layers together, making sure to spread it all the way to the edges.
Now, this is where a lot of bakers make a critical mistake – they simply stack the layers on top of each other, hoping for the best. But not me, oh no. I’ve got a secret trick up my sleeve. I like to offset each layer slightly, so the seams aren’t stacked directly on top of one another. This creates a stronger, more stable structure that can support the weight of the cake as it grows taller.
And speaking of weight, it’s important to remember that the more layers you add, the more important it is to have a sturdy, dense filling. That’s why I always go for a rich, creamy buttercream or a silky smooth ganache. These ingredients not only taste amazing, but they also provide the structural support your cake needs to stand tall and proud.
Frosting and Decorating for the Wow Factor
Alright, you’ve got your flawless cake layers, perfectly stacked and filled – now it’s time for the grand finale: the frosting and decorating. This is where you really get to let your creativity shine and transform a simple layer cake into a true work of art.
I always start with a crumb coat – a thin layer of frosting that seals in any crumbs and creates a smooth base for the final layer of frosting. This step is crucial for achieving that sleek, professional-looking finish. Once the crumb coat is set, I go in with a generous amount of my signature buttercream, smoothing it out with a cake scraper or offset spatula until it’s as smooth as glass.
Now, the fun part – the decorations! I love to get creative with things like fresh flowers, edible gold leaf, intricate piping work, and even hand-painted designs. The possibilities are truly endless, and I’ve found that the key is to let your personal style and the occasion shine through.
One of my favorite techniques is using a cake turntable to create those perfectly swooping, elegant buttercream rosettes. It takes a bit of practice, but the end result is always worth it. And let me tell you, there’s nothing quite like the look on a client’s face when they see their custom cake for the first time – pure, unadulterated joy.
The Jax Cake Shop Difference
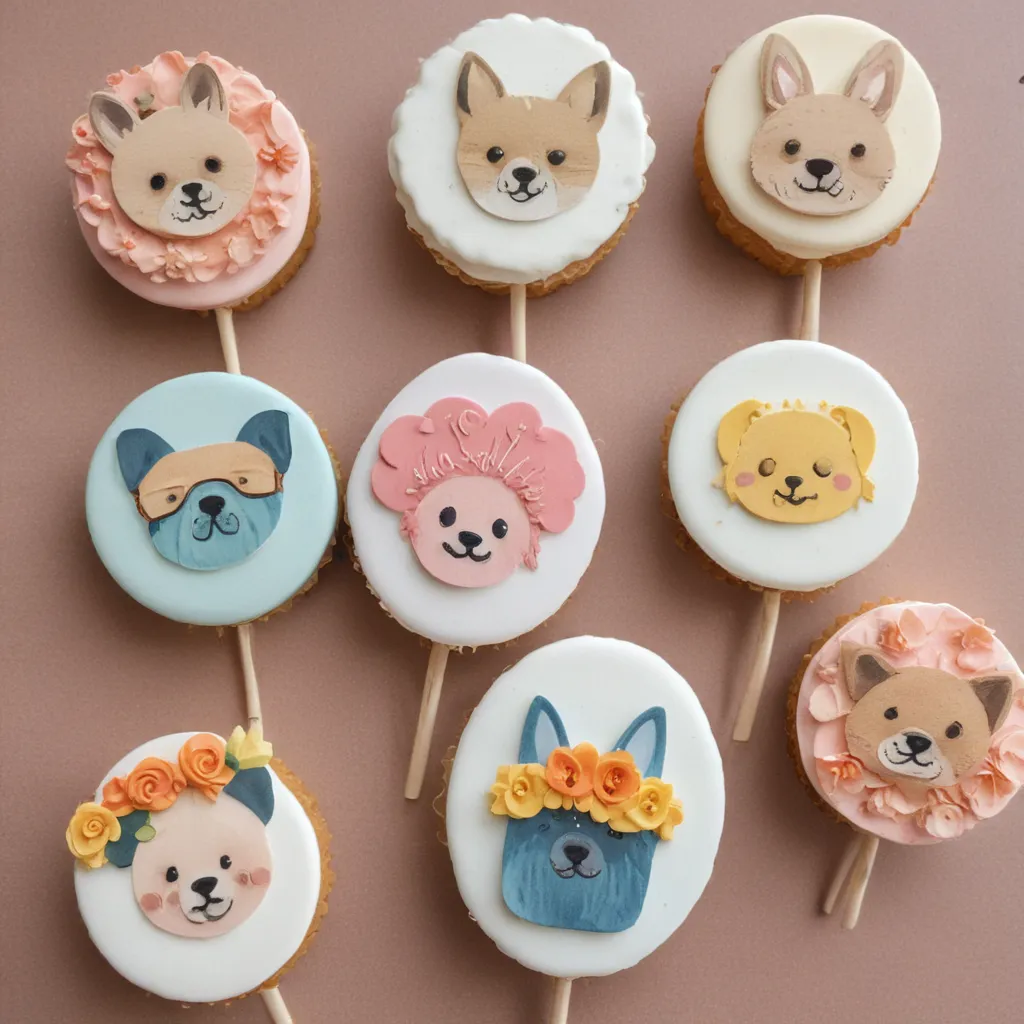
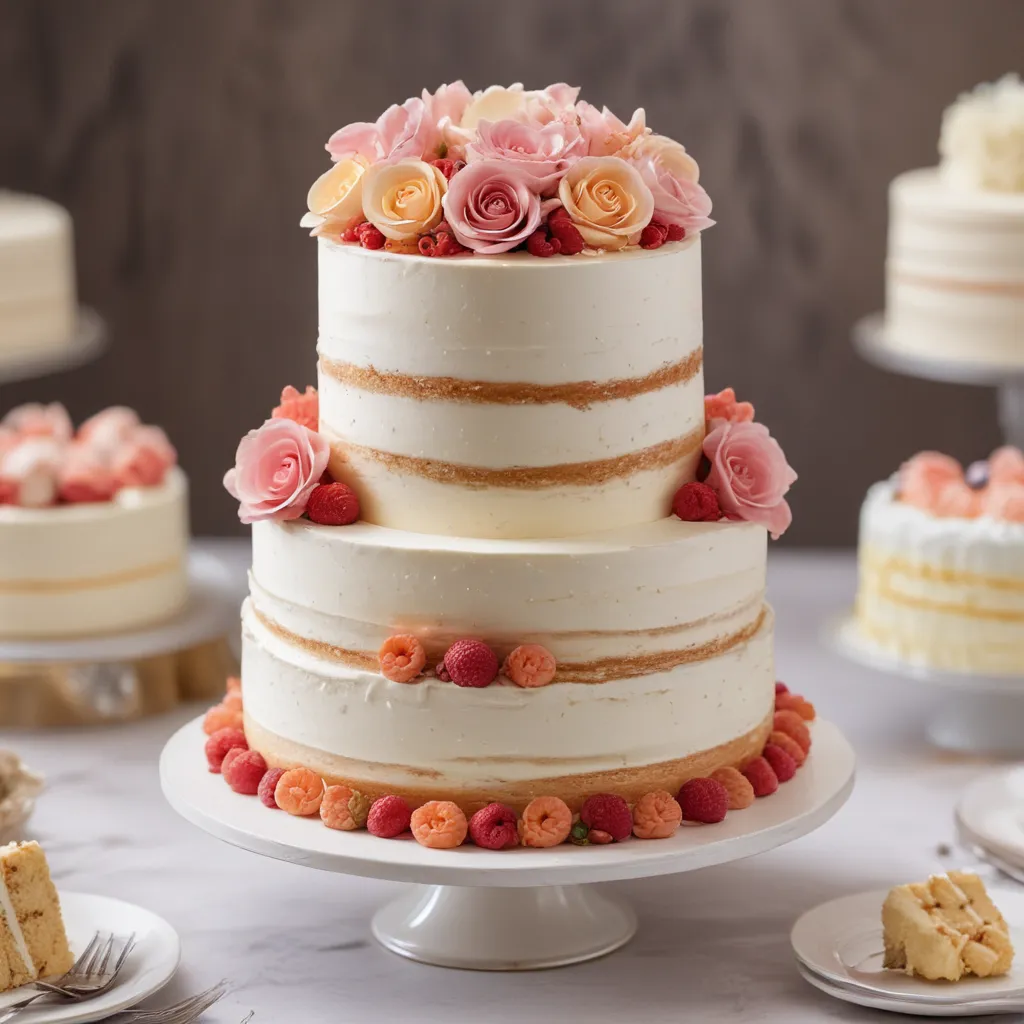
At Jax Cake Shop, we pride ourselves on being more than just a bakery. We’re artists, magicians, and storytellers, crafting cakes that not only taste incredible but also capture the essence of our clients’ visions. Whether you’re envisioning a towering, elegantly-tiered wedding cake or a whimsical, character-inspired birthday masterpiece, we’ve got the skills and passion to bring your dreams to life.
So, what sets us apart from the competition, you ask? Well, it’s simple – we pour our heart and soul into every single cake we create. We meticulously source the finest ingredients, we take the time to perfect every technique, and we infuse each and every cake with a genuine love for what we do. After all, a cake isn’t just a dessert – it’s a memory in the making, a centerpiece for your most cherished celebrations.
And let me tell you, there’s nothing quite like the feeling of handing over a cake that’s not only a work of art but also a labor of love. The smiles, the tears of joy, the utter amazement on our clients’ faces – that’s what keeps us going, day in and day out. It’s the reason we do what we do, and it’s the secret to our success.
So, if you’re looking to take your cake game to new heights, look no further than Jax Cake Shop. We’re here to help you create something truly extraordinary, one delicious layer at a time. Visit our website to start planning your next masterpiece!
FAQs: Tackling Your Toughest Cake Questions
Of course, with all the intricacies involved in crafting a towering layer cake, it’s only natural that you might have a few questions. Fear not, my friends, I’m here to address your cake conundrums and put your mind at ease.
Q: How do I ensure my cake layers stay perfectly level and don’t dome in the middle?
A: As I mentioned earlier, using cake strips or bake-even strips is an absolute game-changer. These nifty little gadgets wrap around the outside of your cake pans, insulating the sides and preventing uneven baking. I also always make sure to evenly distribute the batter and gently tap the pans to release any air bubbles before popping them in the oven.
Q: How do I know when my cake layers are done baking?
A: The best way to tell is to do the good old toothpick test. Insert a clean toothpick or skewer into the center of the cake, and if it comes out clean, your layers are ready to go. You can also give the cake a gentle poke – if it springs back, it’s done. Just be sure not to overbake, as that can lead to dry, crumbly layers.
Q: How do I prevent my layer cake from sliding or toppling over?
A: Ah, the age-old dilemma of the unstable layer cake. The key here is to make sure you’ve got a sturdy foundation and proper support system in place. Always start with a solid cake board or thick cardboard round, and be sure to offset each layer slightly to create a stronger structure. I also like to use dowel rods or straws to provide extra stability, especially for taller cakes.
Q: How far in advance can I bake my cake layers?
A: This is a great question, and the answer really depends on the type of cake you’re making. For most standard cakes, you can bake the layers up to a week in advance and store them in the freezer, well-wrapped, until you’re ready to assemble. Just be sure to thaw them completely before filling and frosting. For more delicate cakes or ones with perishable fillings, I’d recommend baking the layers no more than 2-3 days in advance.
Q: How do I ensure my cake frosting is silky smooth and free of air bubbles?
A: Achieving that elusive, professional-looking frosting finish is all about technique. First and foremost, make sure your butter and other dairy ingredients are at the proper room temperature. This helps them blend together seamlessly without any pesky air pockets. I also like to use a paddle attachment on my stand mixer and mix the frosting on a lower speed to prevent excess air incorporation.
I hope these tips and tricks have helped demystify the world of tall, sturdy layer cakes. Remember, with a little practice and a whole lot of patience, you can create show-stopping, gravity-defying cakes that will have your friends and family in awe. And of course, if you ever need a little extra help, you know where to find us – Jax Cake Shop, where the art of cake-making is taken to new heights (pun very much intended).


