Ah, the age-old dilemma of cake stacking – the bane of every baker’s existence. You’ve spent countless hours meticulously crafting the perfect layers, painstakingly frosting each one to cake-decorating perfection. But then comes the moment of truth: the dreaded stacking. Will your beautiful creation stand tall and proud, or will it come crashing down in a sugary avalanche?
Fear not, my fellow cake enthusiasts! I, the self-proclaimed Cake Whisperer, am here to share my hard-earned wisdom on the art of stacking cakes without turning them into an unappetizing pile of crumbs. Grab a fork and get ready to dive into the delicious world of cake engineering.
Prepare Your Cakes for Stacking
Before we even think about stacking, let’s make sure our cakes are ready for the big moment. The key to a successful stack lies in the foundation – literally. Start by ensuring your cakes are completely cool and level. Trim off any uneven or domed tops, and make sure each layer is smooth and free of any bulges or bumps. This will create a stable base for your stack.
Next, let’s talk about the all-important filling. When it comes to stacking, the filling you choose can make or break your masterpiece. Opt for a sturdy, spreadable filling like buttercream or ganache – save the gooey caramel or fruit fillings for single-layer cakes. These softer fillings can easily squish out the sides, causing your stack to tumble.
And let’s not forget about the cake itself. The sturdier your cake layers, the better they’ll hold up to the stresses of stacking. I recommend using a dense, moist cake recipe, like a good old-fashioned pound cake or a rich chocolate cake. Avoid delicate, airy cakes that are prone to crumbling.
Stack Like a Pro
Alright, now that our cakes are prepped and ready, it’s time to put our stacking skills to the test. The key here is to take it slow and steady. Rushing through the process is a surefire way to end up with a lopsided, unstable tower of sugary goodness.
Start by placing your first cake layer on a sturdy cake board or plate. Gently press down to ensure it’s level and secure. Then, using a piping bag or an offset spatula, apply a thick, even layer of your chosen filling around the outer edge of the cake. Be sure to leave a little space between the filling and the edge, as it will spread out as you stack.
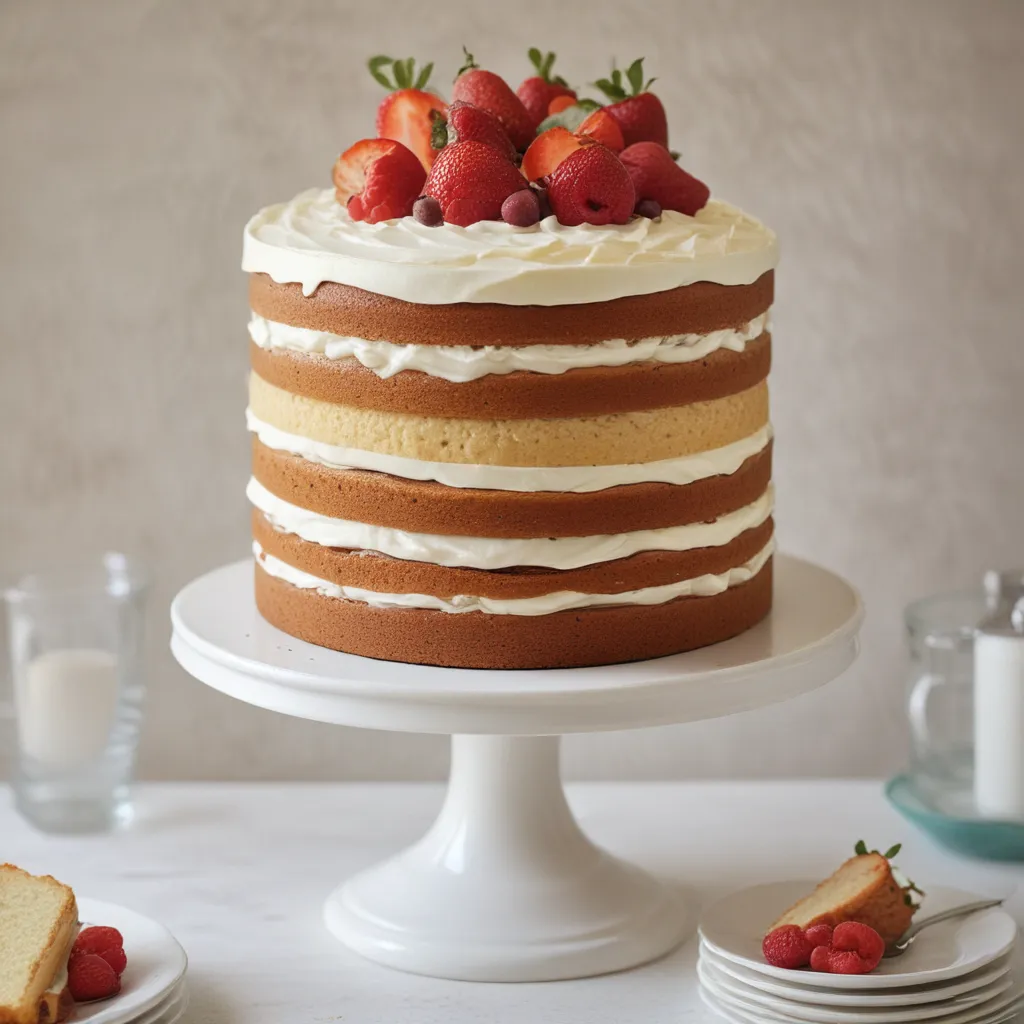
Now, here’s the tricky part: carefully placing the next cake layer on top. Align it perfectly with the bottom layer, using your hands to gently guide it into place. Apply even pressure as you set it down, making sure it’s centered and level. Repeat this process, layer by layer, until your cake stack is complete.
But we’re not done yet! To help stabilize your towering creation, insert sturdy dowel rods or straws into the center of the stack, cutting them flush with the top layer. This will provide the necessary support to keep your cake from collapsing under its own weight.
Frosting and Decorating
With the hard part behind us, it’s time to make our stacked cake look as good as it tastes. Reach for your trusty offset spatula and start frosting the entire stack, working your way around the sides and smoothing out any lumps or bumps. Remember, the more evenly you frost the cake, the more stable it will be.
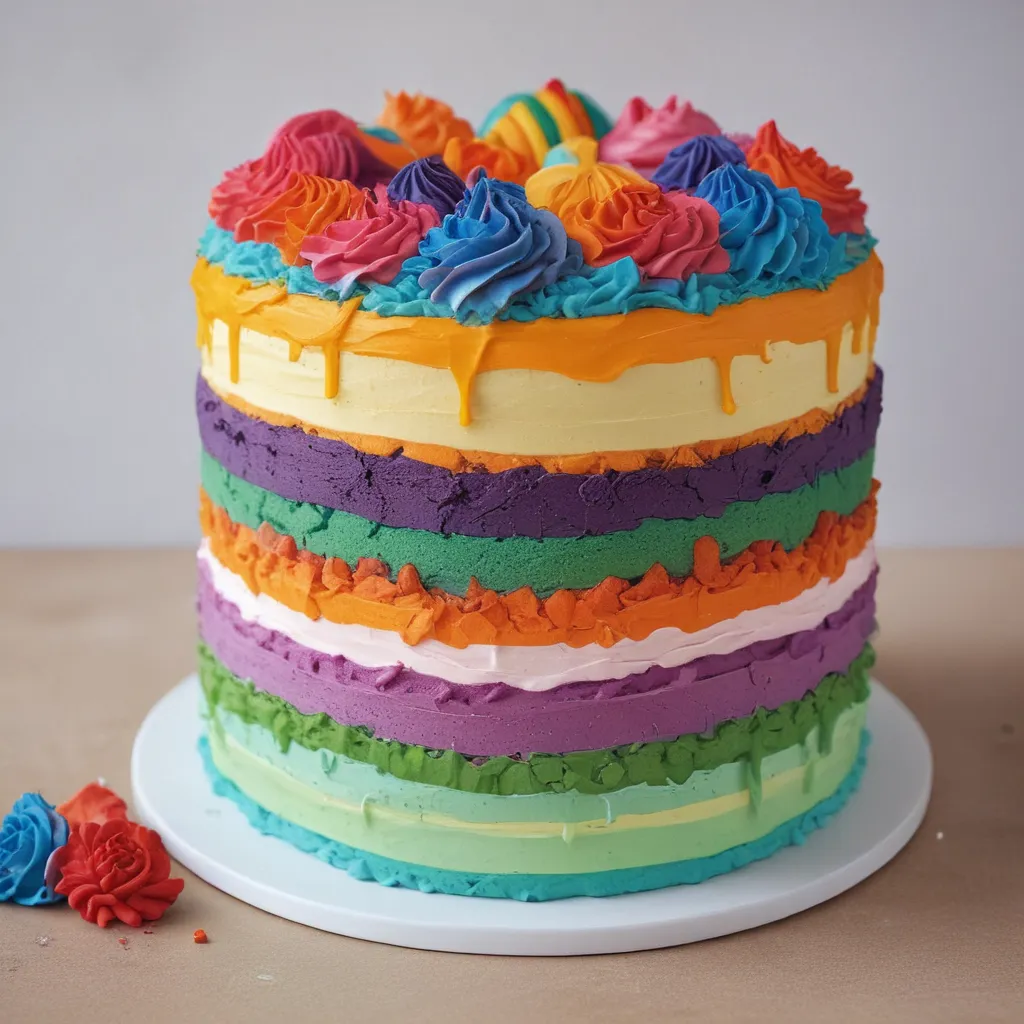
Now, the fun part: decorating! Let your creativity shine as you adorn your masterpiece with all sorts of edible embellishments. Pipe elegant swirls of buttercream, sprinkle on colorful sprinkles or dragees, or top it off with fresh flowers or fruit. The possibilities are endless!
Troubleshooting Tips
But what if things don’t go quite as planned? Fear not, my fellow cake enthusiasts. I’ve got your back with some tried-and-true troubleshooting tips.
Leaning tower of cake, you say? Chances are your layers aren’t properly aligned. Take a step back, gently adjust the top layer, and use your hands to apply even pressure around the edges. If that doesn’t work, try inserting a few extra dowels or straws for added support.
Sinking in the middle? Your cake layers might be too soft or your filling too heavy. Next time, opt for a sturdier cake recipe and use a lighter, more spreadable filling. And don’t forget to properly level those layers before stacking!
Crumbling catastrophe? Sounds like your cake layers weren’t cooled enough before assembly. Make sure to let your cakes cool completely before even thinking about stacking. And be gentle when handling those delicate layers – they’re not made of steel, you know!
Embrace the Imperfections
Now, I know what you’re thinking: “But Cake Whisperer, my stacked cake has to be perfect! Anything less just won’t do.” And I’m here to tell you, my friend, that perfection is overrated.
In the world of cake stacking, a little bit of character can go a long way. Those minor imperfections, those slight leans or tiny cracks, they’re what make your creation truly unique. Embrace them! They’re the marks of a true artisan, a testament to the hands-on process of cake making.
So, the next time your stacked cake isn’t quite picture-perfect, don’t fret. Grab a fork, take a bite, and savor the deliciousness. After all, the true beauty of a cake lies not in its flawless appearance, but in the love and care that went into its making.
Now, if you’ll excuse me, I’ve got a cake to stack. Wish me luck!


